Follow along with our video walkthrough to see how the Estimates module in Privv works!
Estimating
Author: Joe Phillips
Steps: 39
1. Click on the project name you would like to open

2. Click here to add a new estimate

3. Enter estimate name

4. Click here for start date
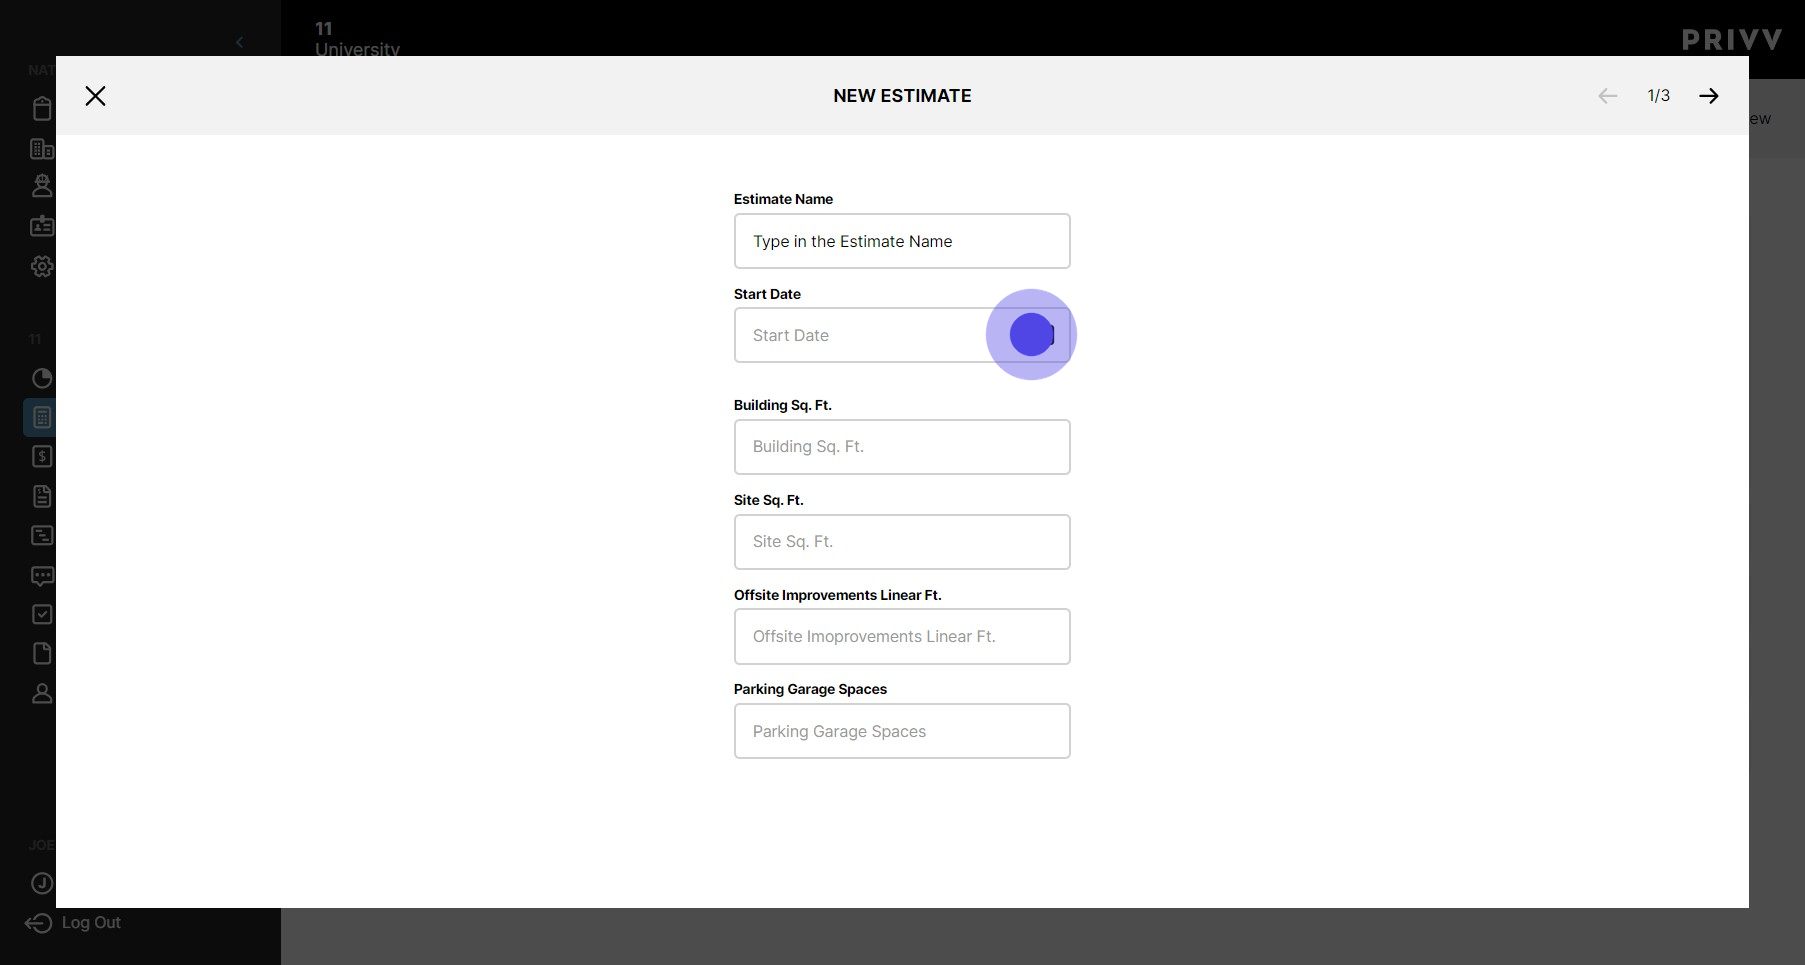
5. Use the calendar to find the start date

6. Enter your project square footage informatio
7. Enter all other details

8. Click the right arrow for next

9. Select "All" or choose your representative projects

10. To select another representative project click the box adjacent to the project

11. Click next to see your rough estimate

12. Edit or accept the estimated cost per square foot. Risk management is in place to assure your team is notified if a price is too low or too high.

13. Click here to adjust the offsite cost

14. Click here to adjust parking garage spaces
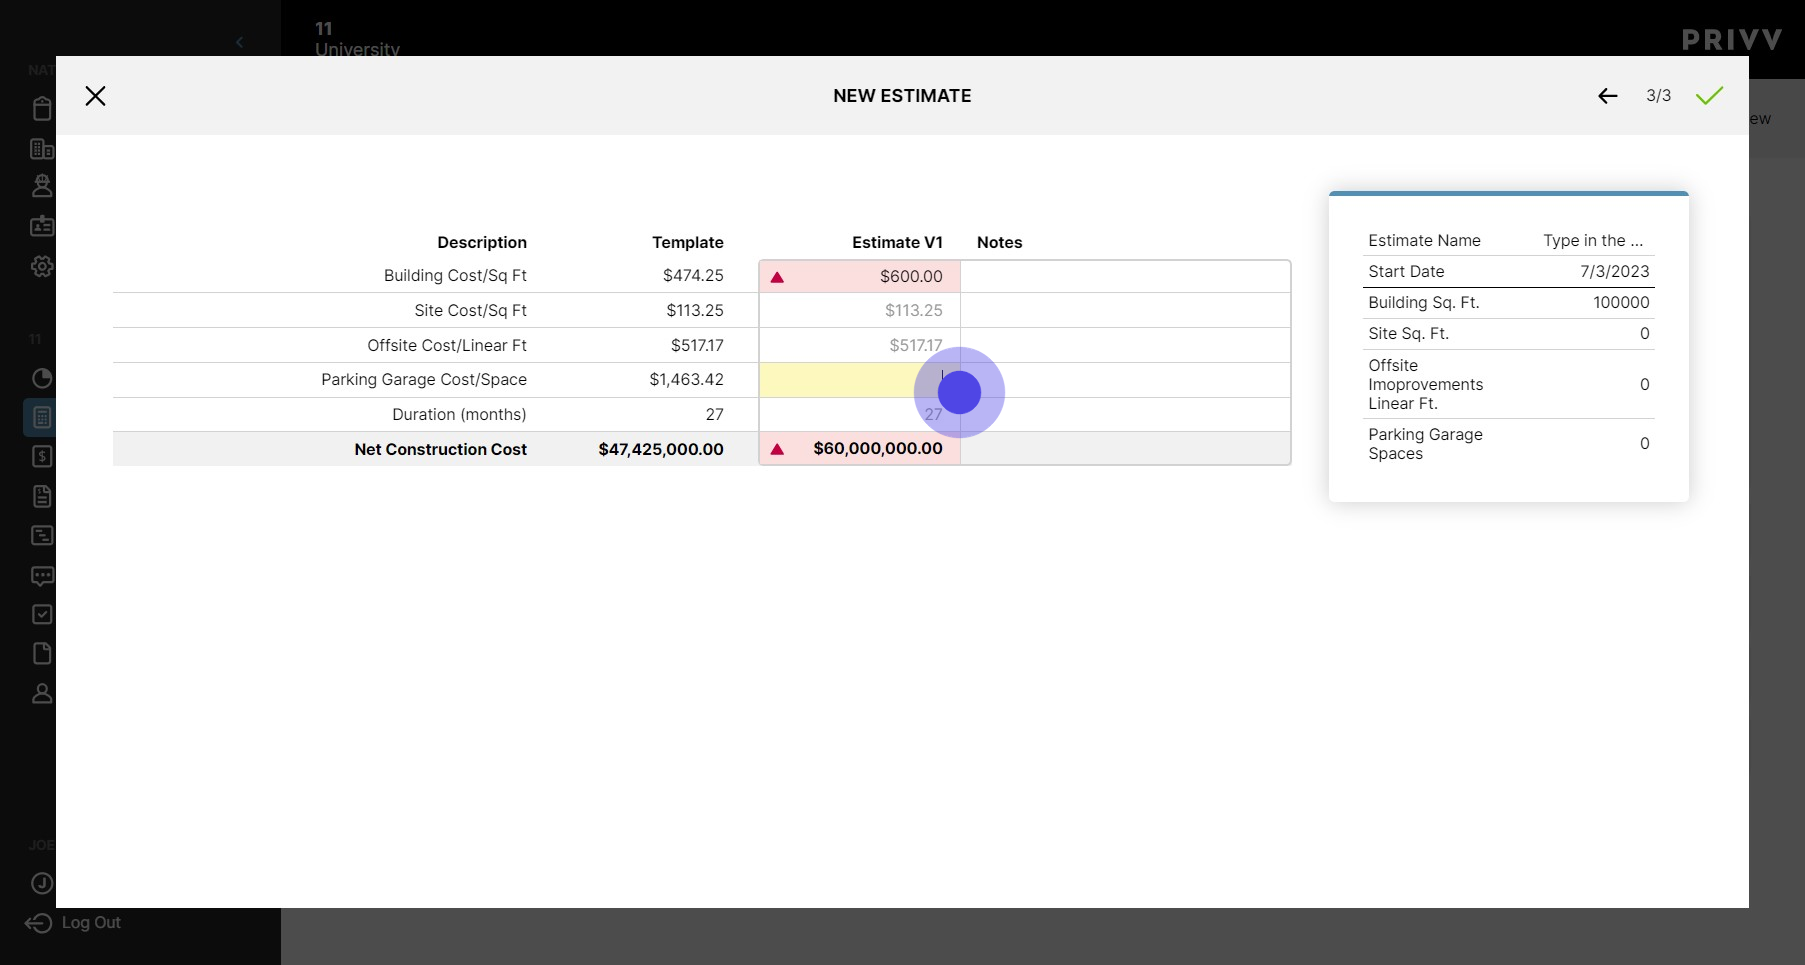
15. Click here to adjust project duration in months
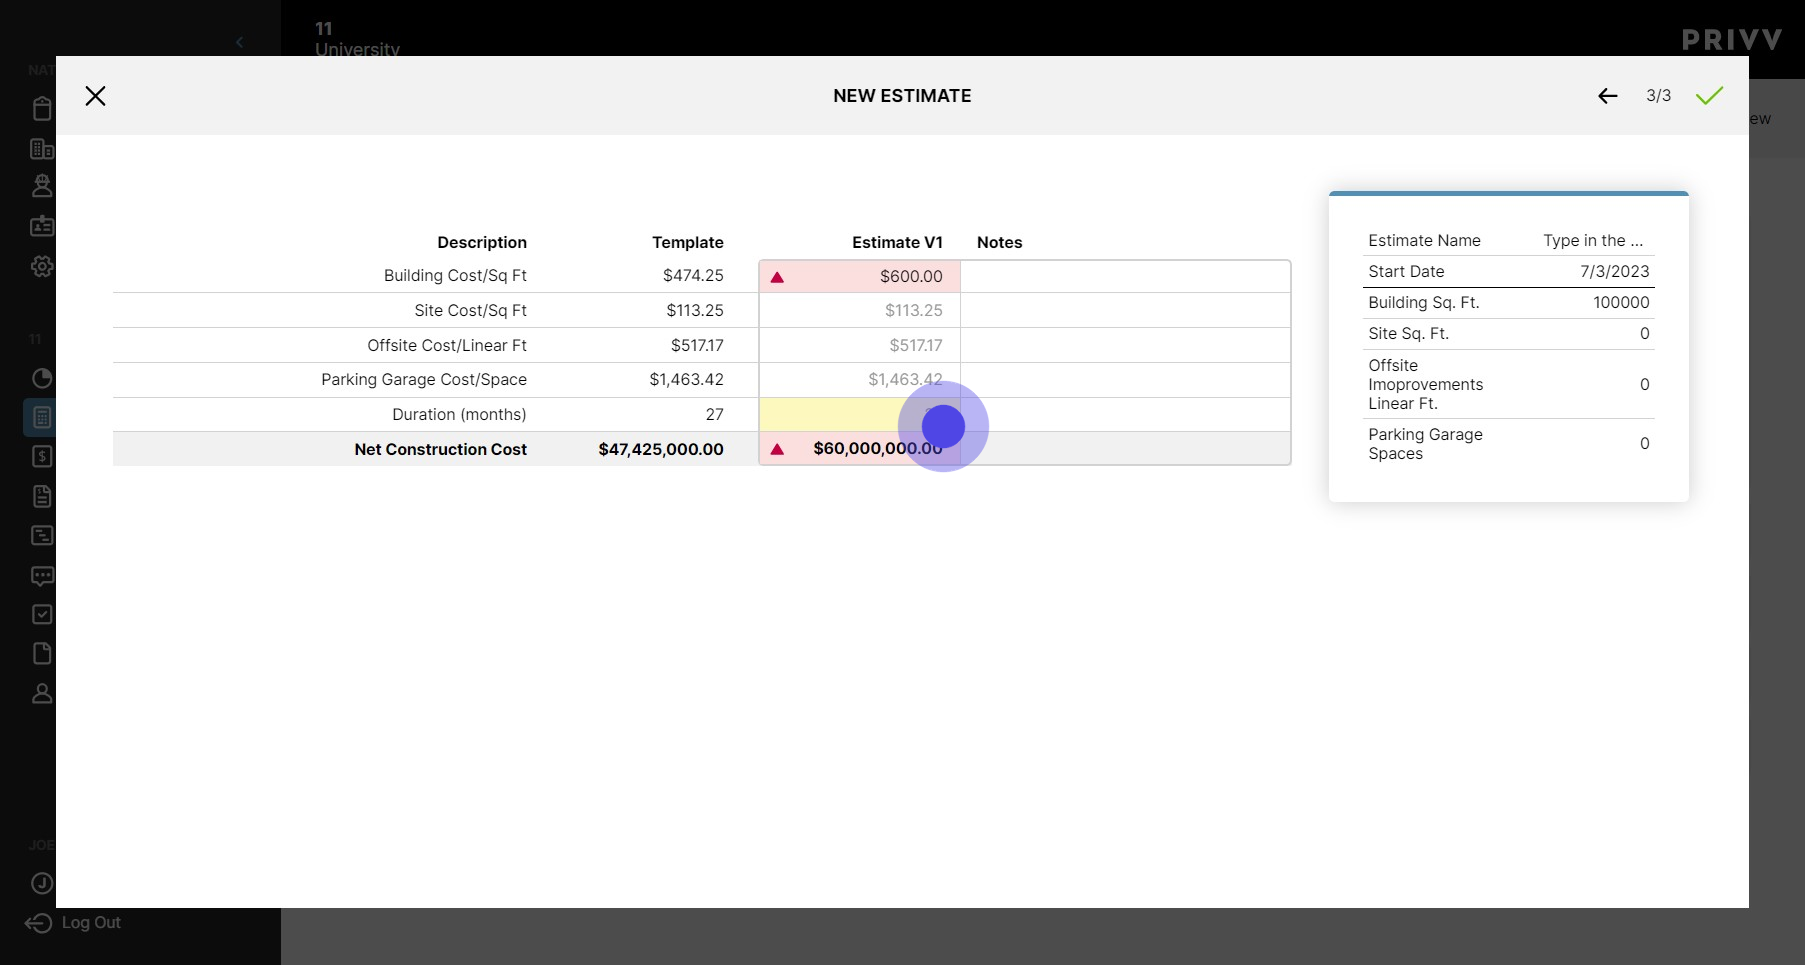
16. Click on the green check mark to confirm estimate

17. Click "Info" for project and estimate information

18. Click on "Docs" to see documents that have been attached to this estimate
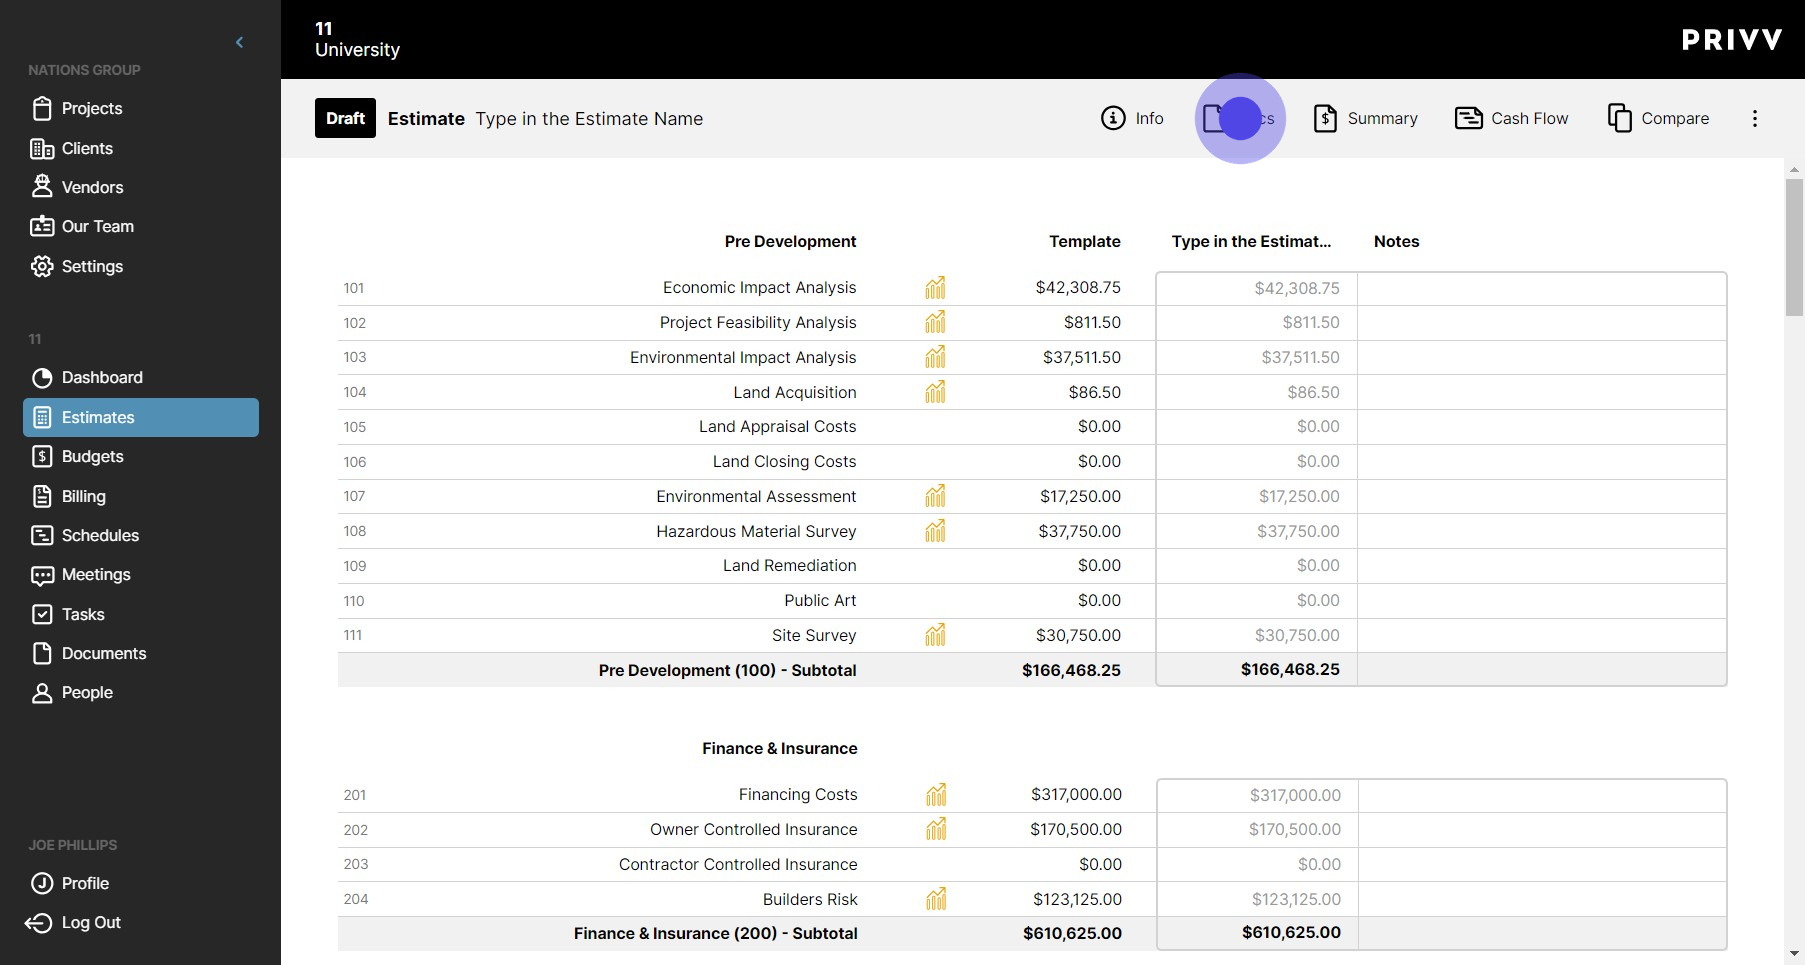
19. Click on "Summary"

20. You can print the summary by clicking on the printer icon

21. Click "Compare" to see your estimate side-by-side with other comparable estimates

22. Select the estimates you would like to compare with your current estimate
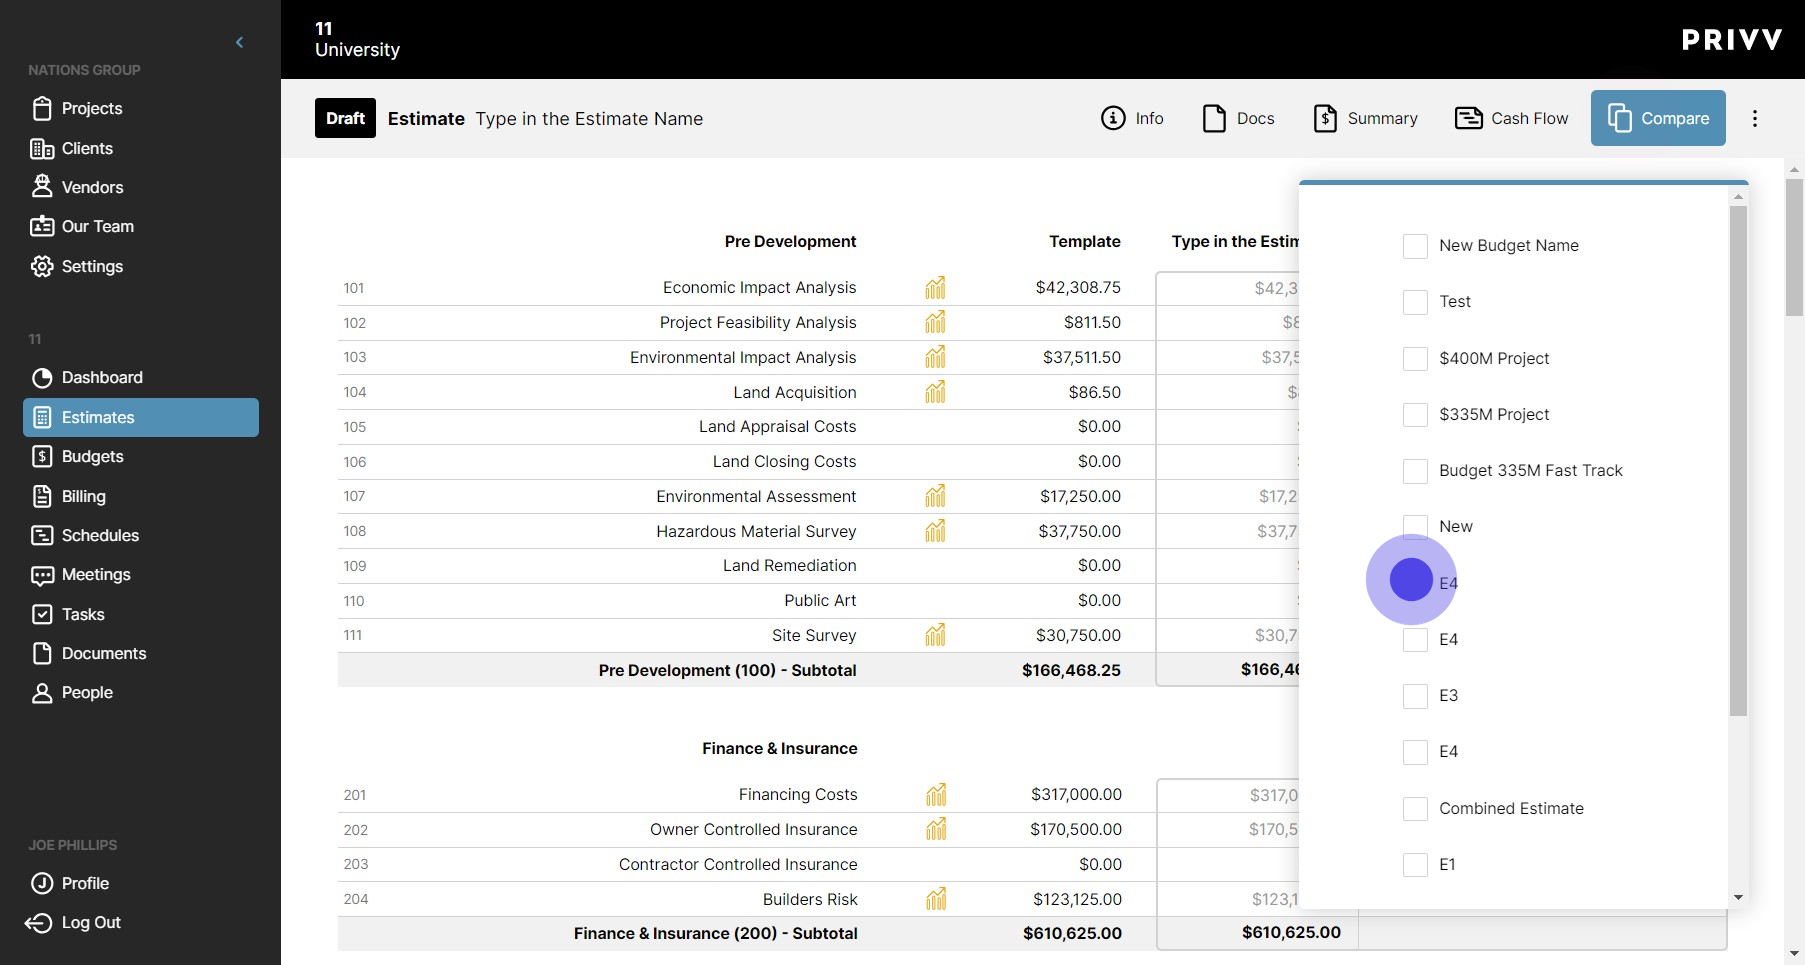
23. Click here to close the window

24. Click the ellipsis to see the other options

25. Print/PDF allows you to run canned reports off the current estimate

26. You can select to print all the details on the current screen or the summary page
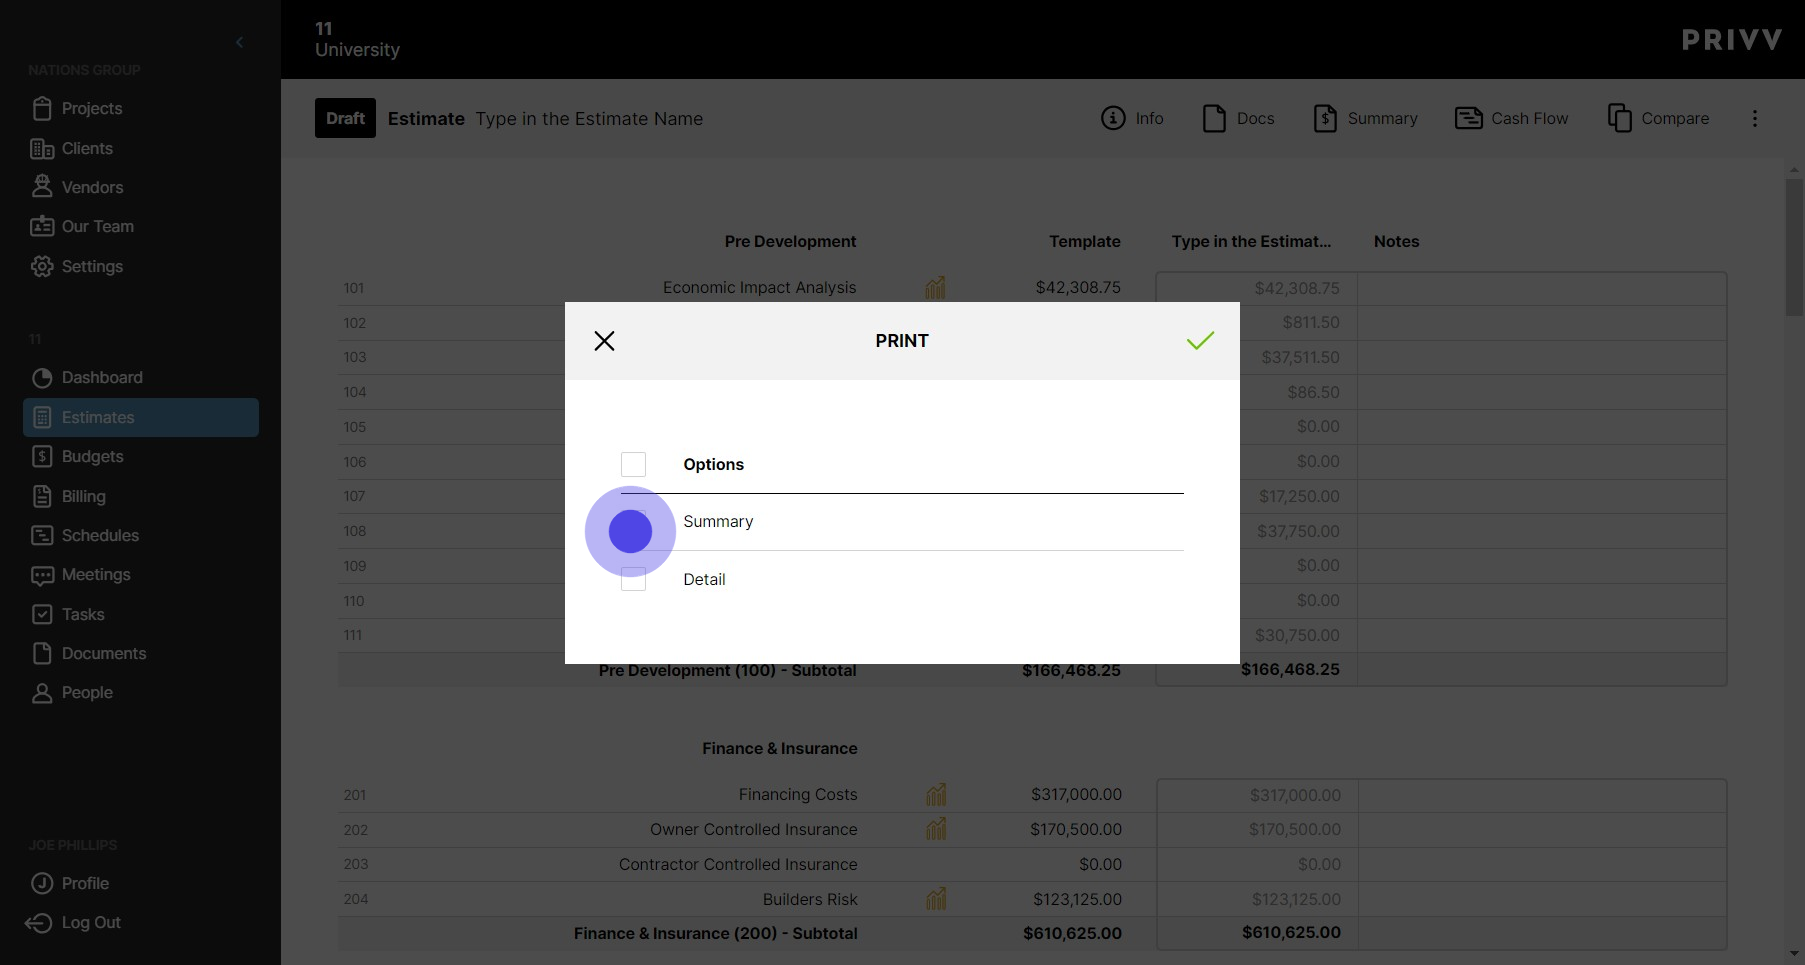
27. Click the green check mark when you have made your selections

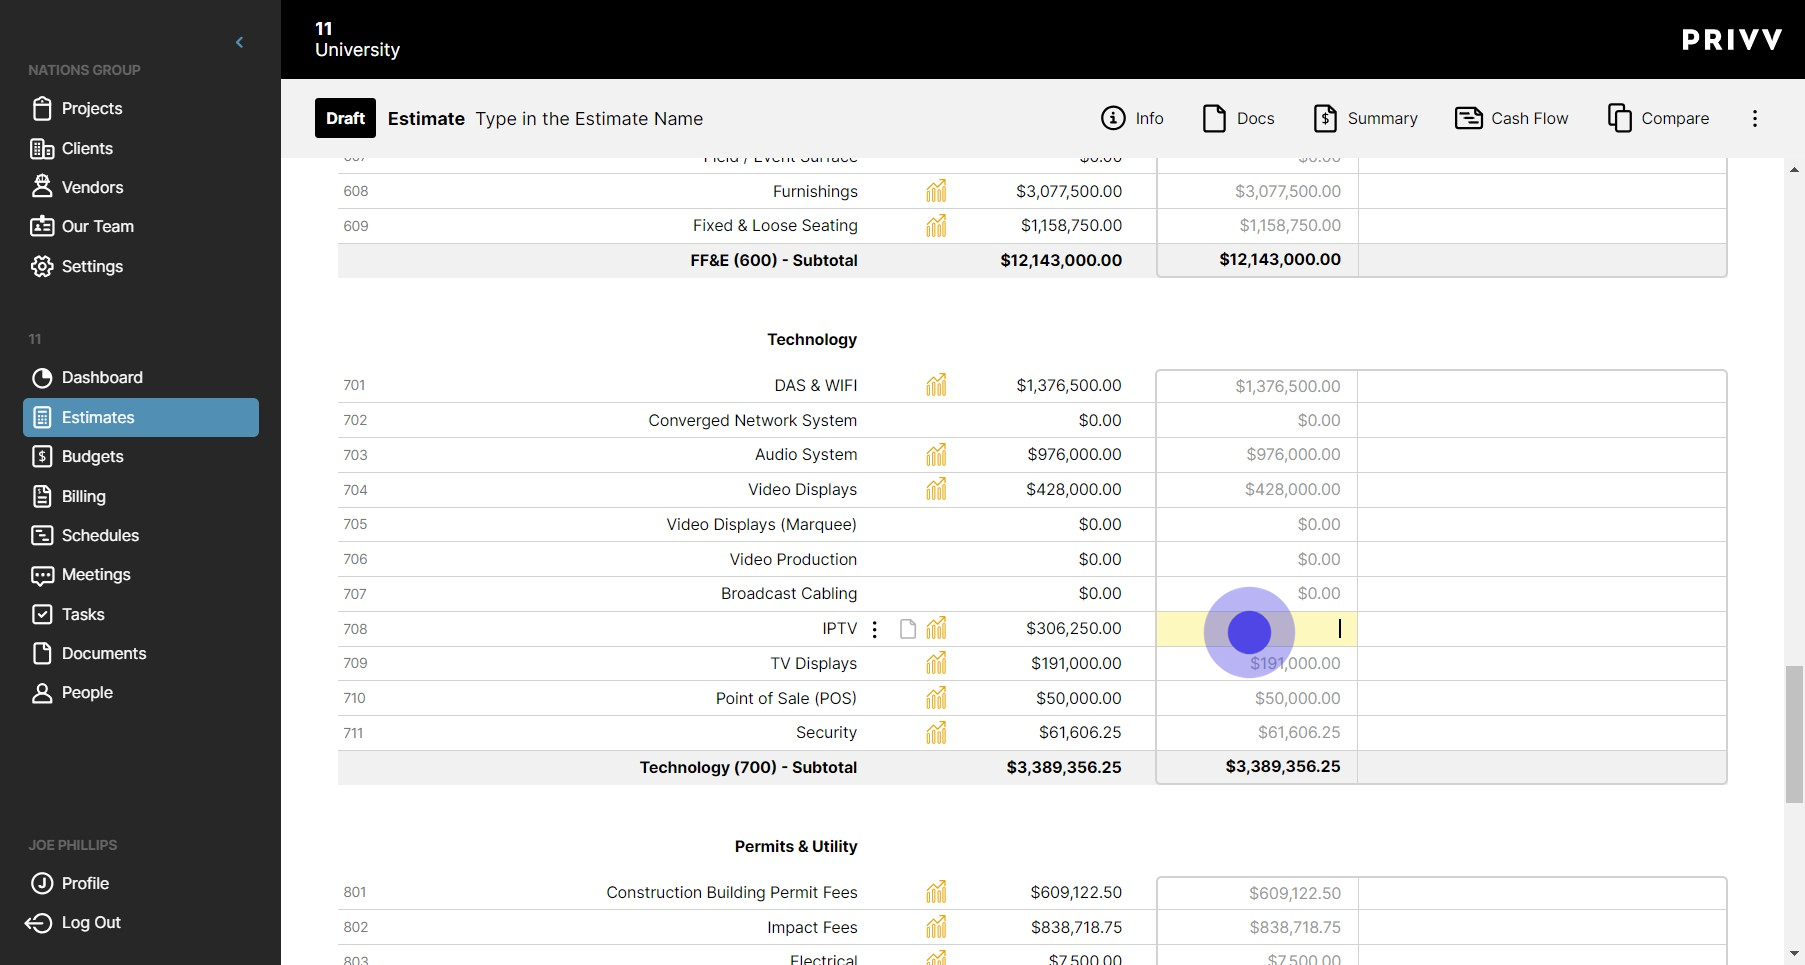
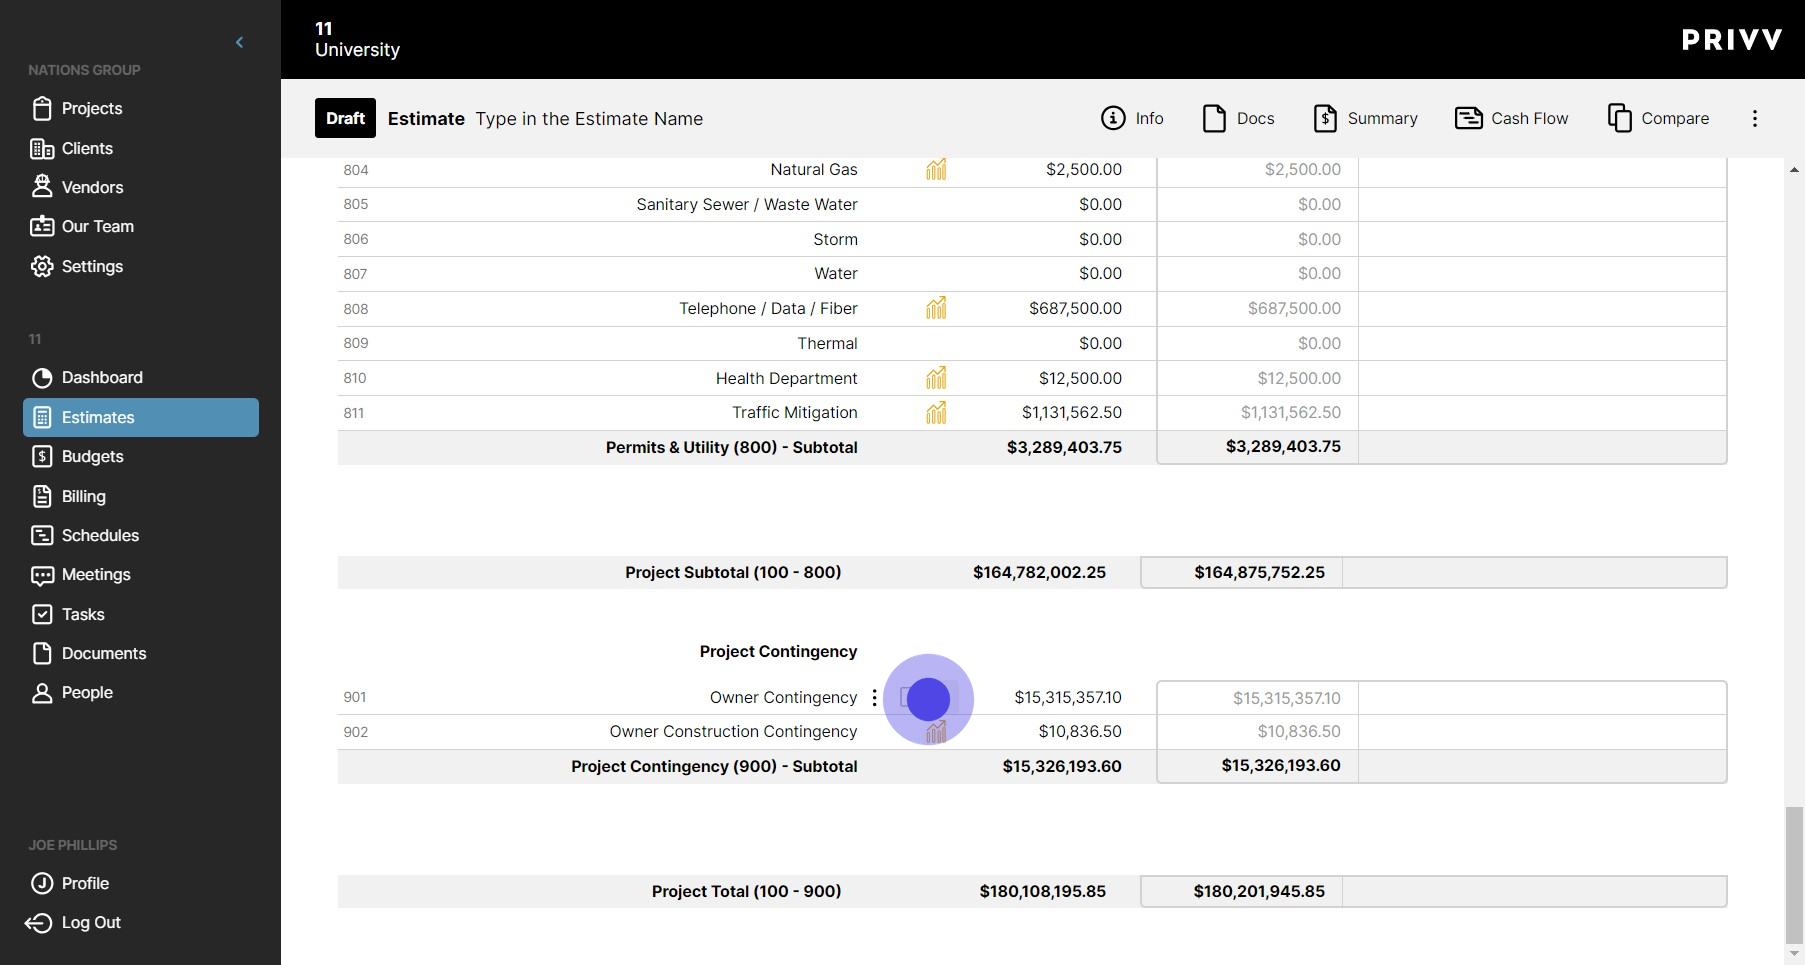
28. While your estimate is in draft mode you may edit any of the line item amounts by clicking on the corresponding cell.
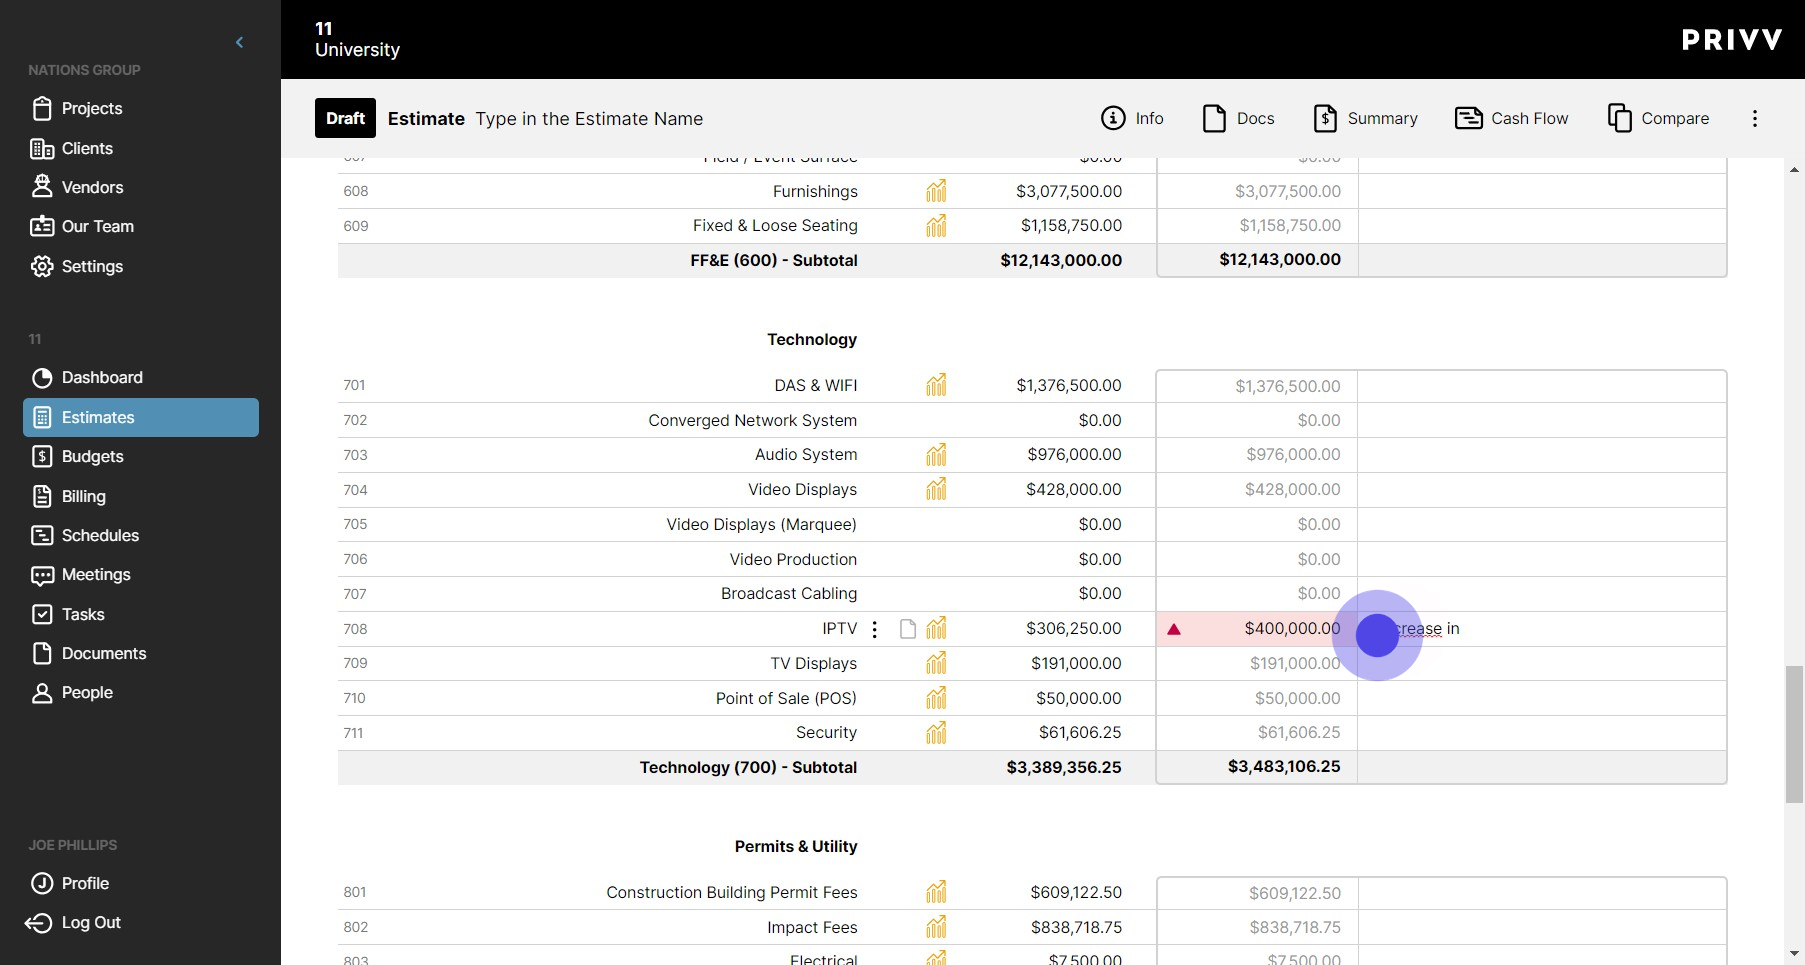
29. Risk notifications have been built in to the template and will notify you like this if you enter an amount above the threshold average

30. You can also add notes on each line item here
31. To add cash flows, click on the gold cashflow symbol indicated here
32. Click the calendar icon to enter the beginning month
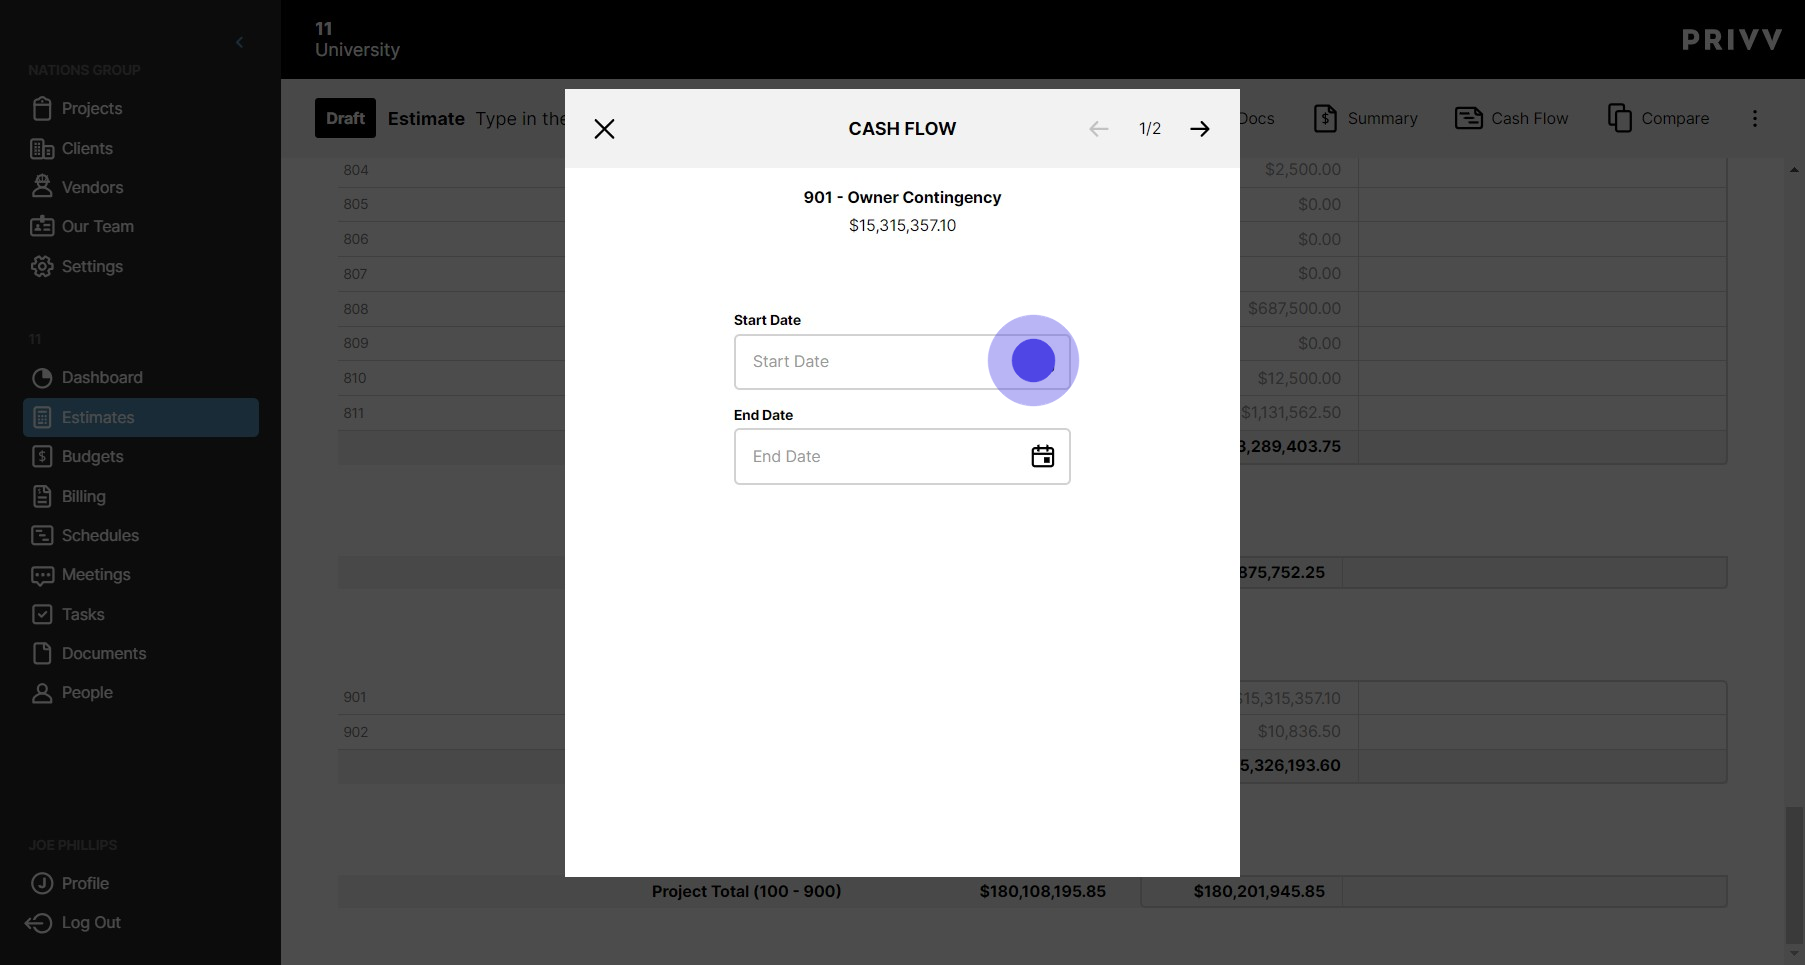
33. Select the beginning date

34. Click the calendar icon to enter the ending month

35. Select the ending date

36. Click here to go to the cash flow page

37. The linear distribution is automatically filled in for the dates you selected

38. If you have changed any of the amounts for the months selected, the difference in allocation will be shown under "Total Not Allocated".
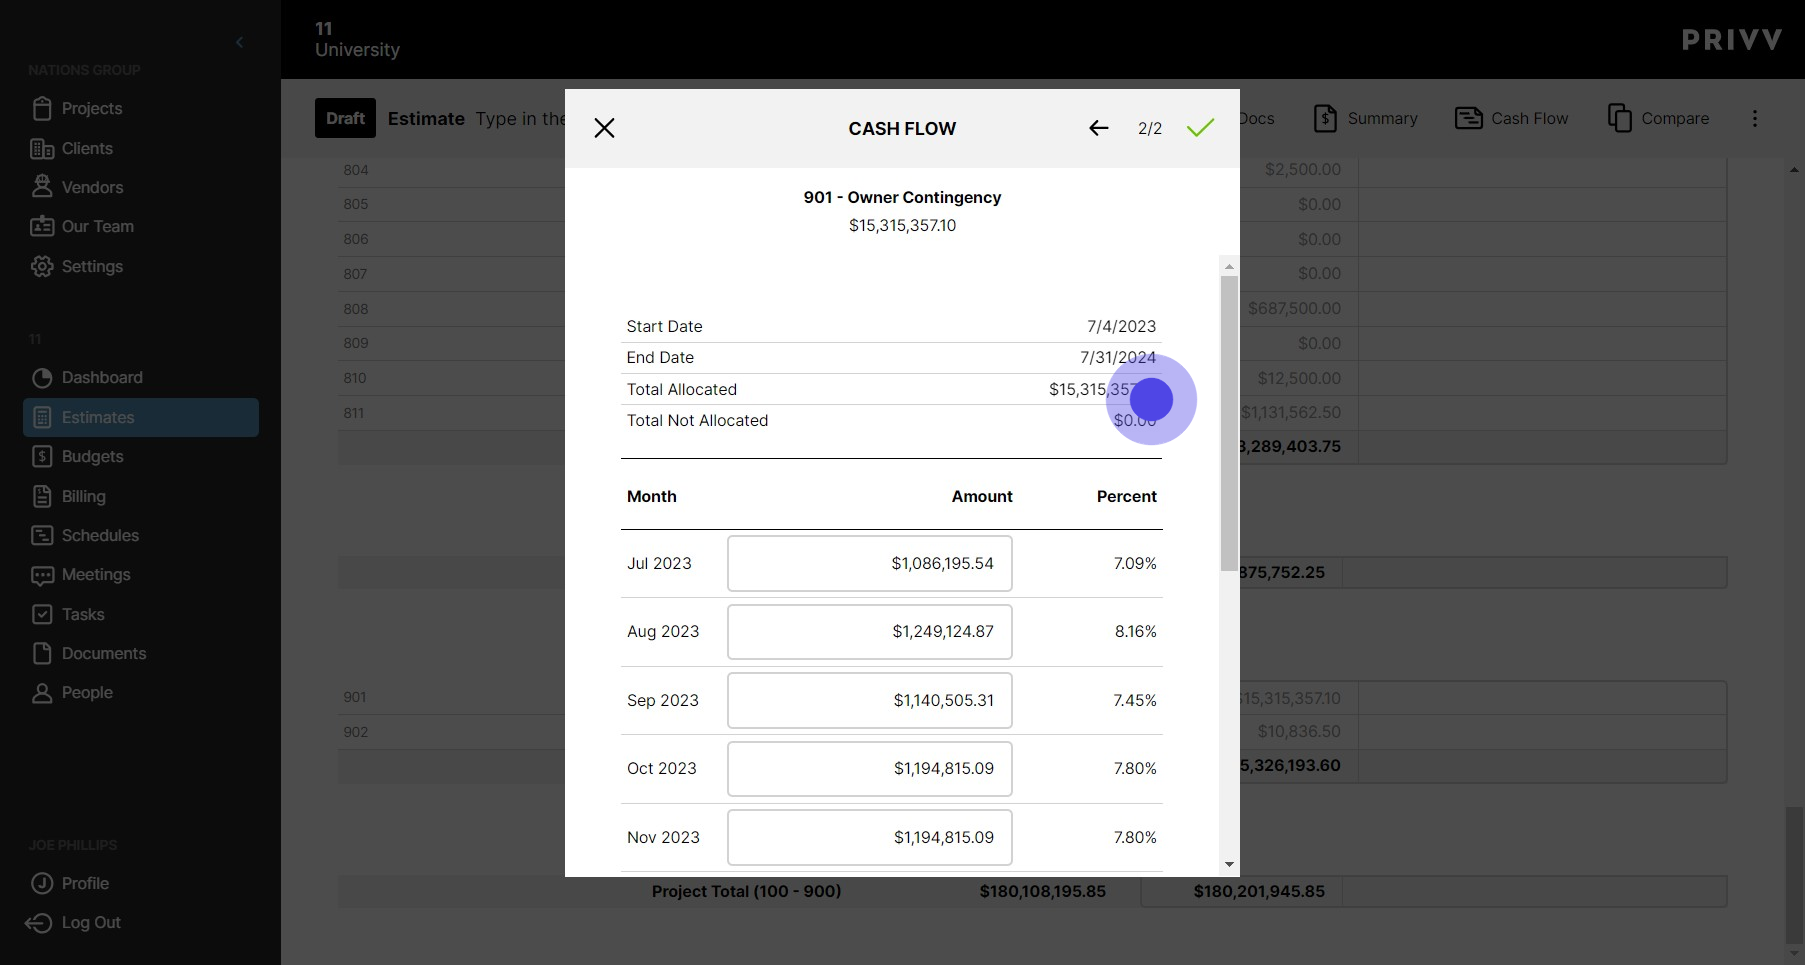
39. When you have finished with the cash flow, select the green check mark at the top to complete it

Was this article helpful?
That’s Great!
Thank you for your feedback
Sorry! We couldn't be helpful
Thank you for your feedback
Feedback sent
We appreciate your effort and will try to fix the article