Billing Setup
Author: Joe Phillips
1. Lets set up your first Pay application! Click on the 'Billing' Module
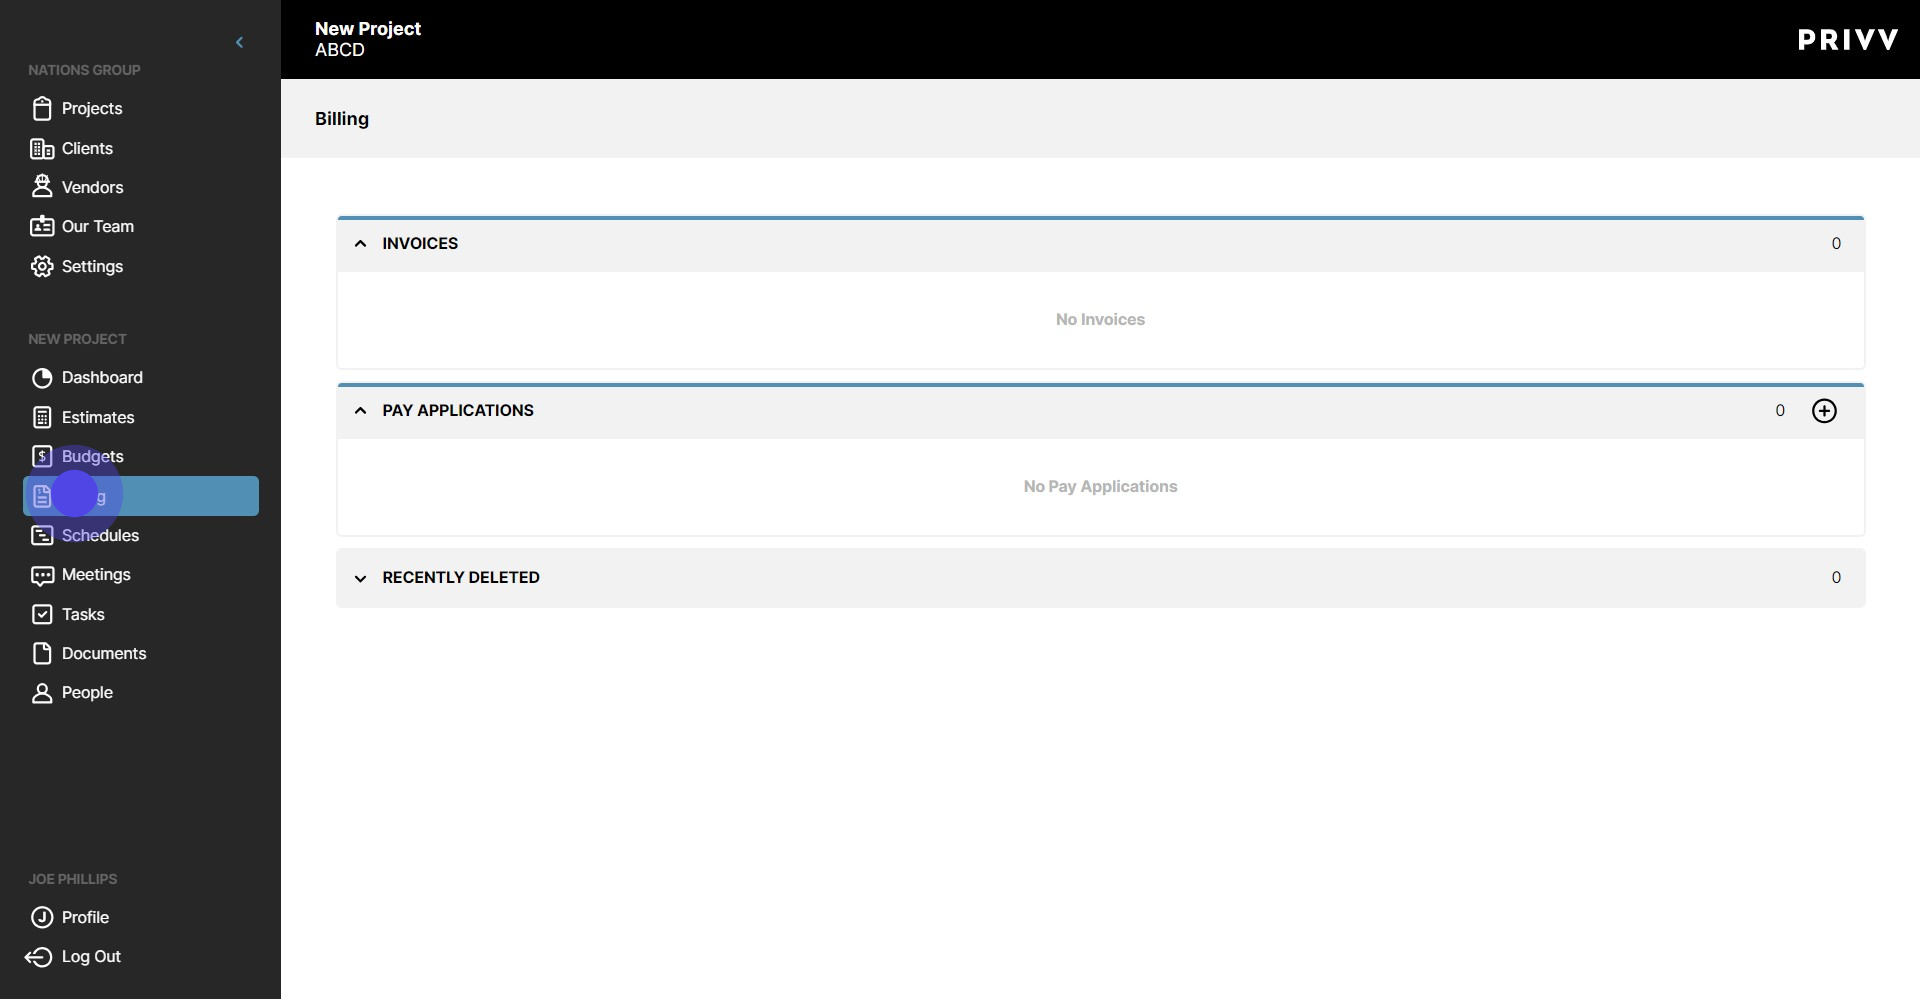
2. Click the + symbol to add a New Pay Application

3. Select the Budget to associate it with in the dropdown
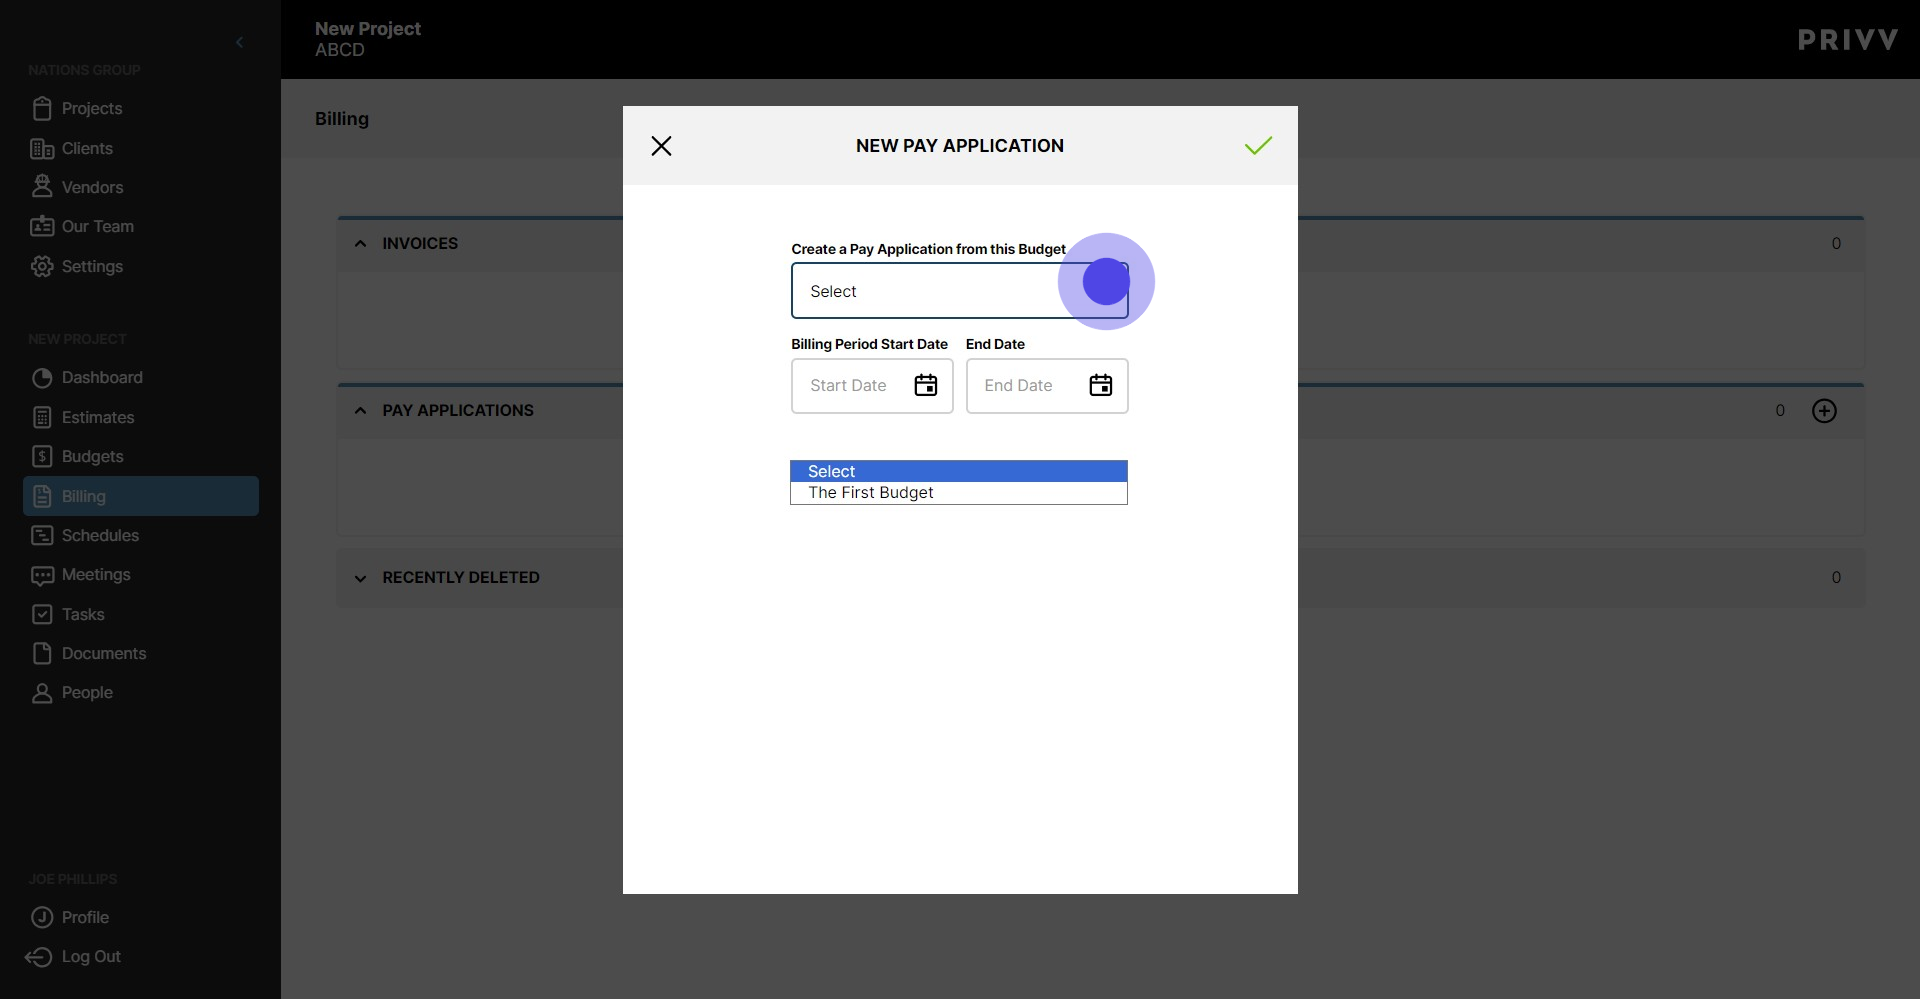
4. Click the Calendar icon to open the Calendar

5. Select the Billing Period Start Date

6. Click the Calendar icon to open the Calendar

7. Select the Billing Period End Date

8. When you are finished, click the green check mark to save.

9. Now that your Pay application has been setup, let's navigate over to the Budget

10. Click anywhere on the Budget to navigate to the Budget Detail screen

11. Now let's add some committed costs. Click the pencil next to the line item in the committed cost column

12. Enter the name here
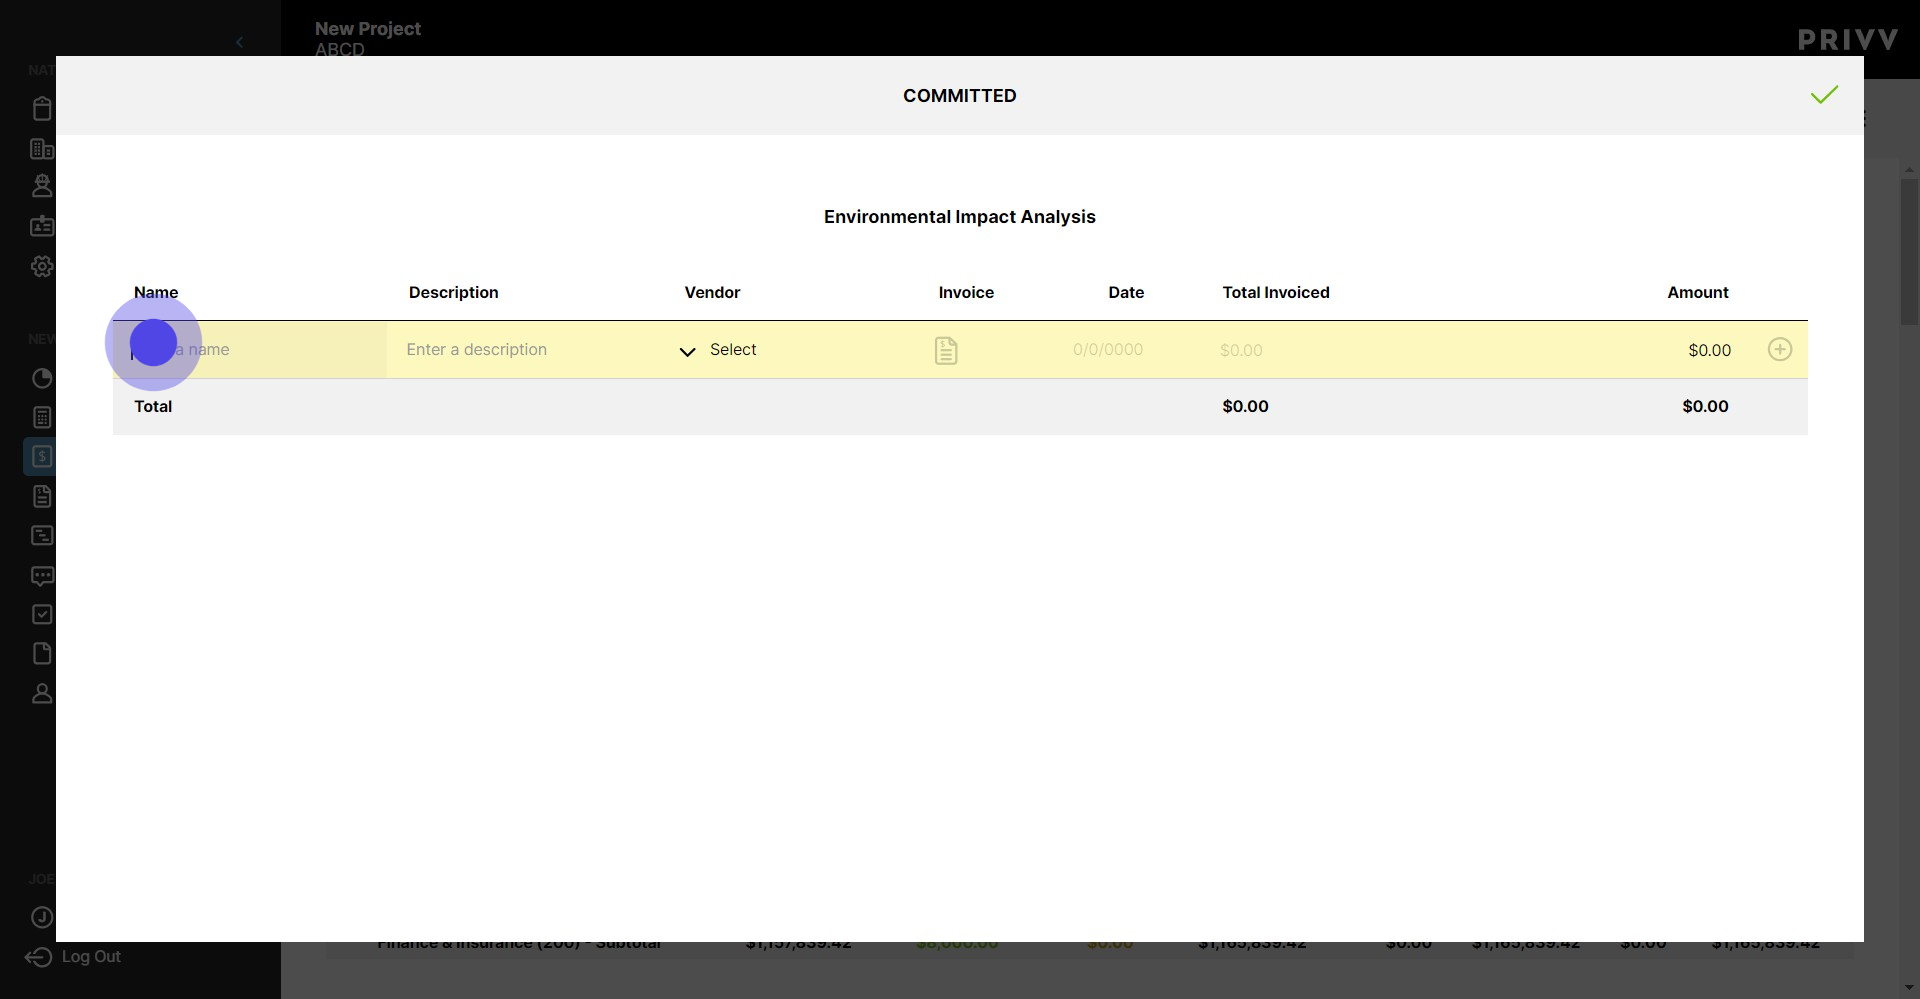
13. Enter the description of the cost here

14. Select the Vendor from the dropdown list. (If your vendor is not listed, you will need to go back to the 'People' module and add your project Vendors.)

15. Click the Calendar icon

16. Select the date for the commitment

17. Enter the total amount allocated to the Vendor

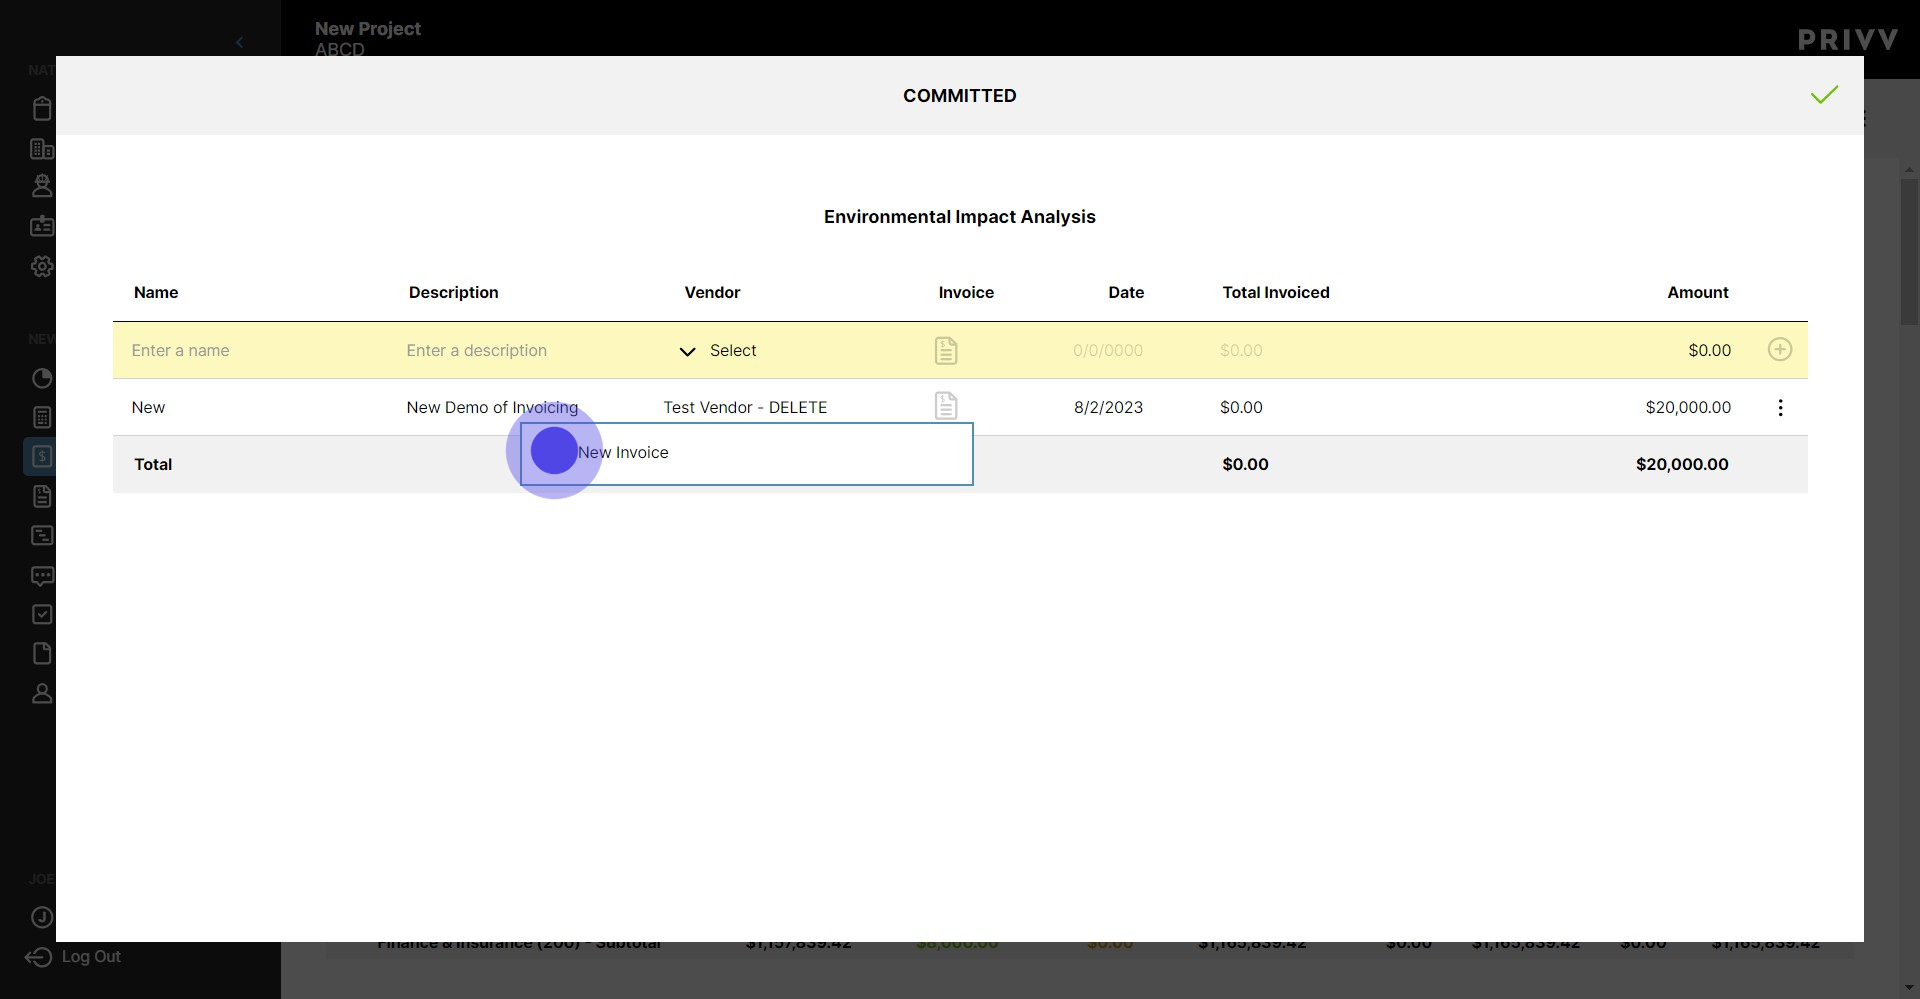
18. Make sure to click the + symbol to add the commitment to the line item. If you dont select the + symbol, the commitment will not save

19. Now that the commitment is made, we can begin adding invoices to it. Click on the document icon here to add a new invoice

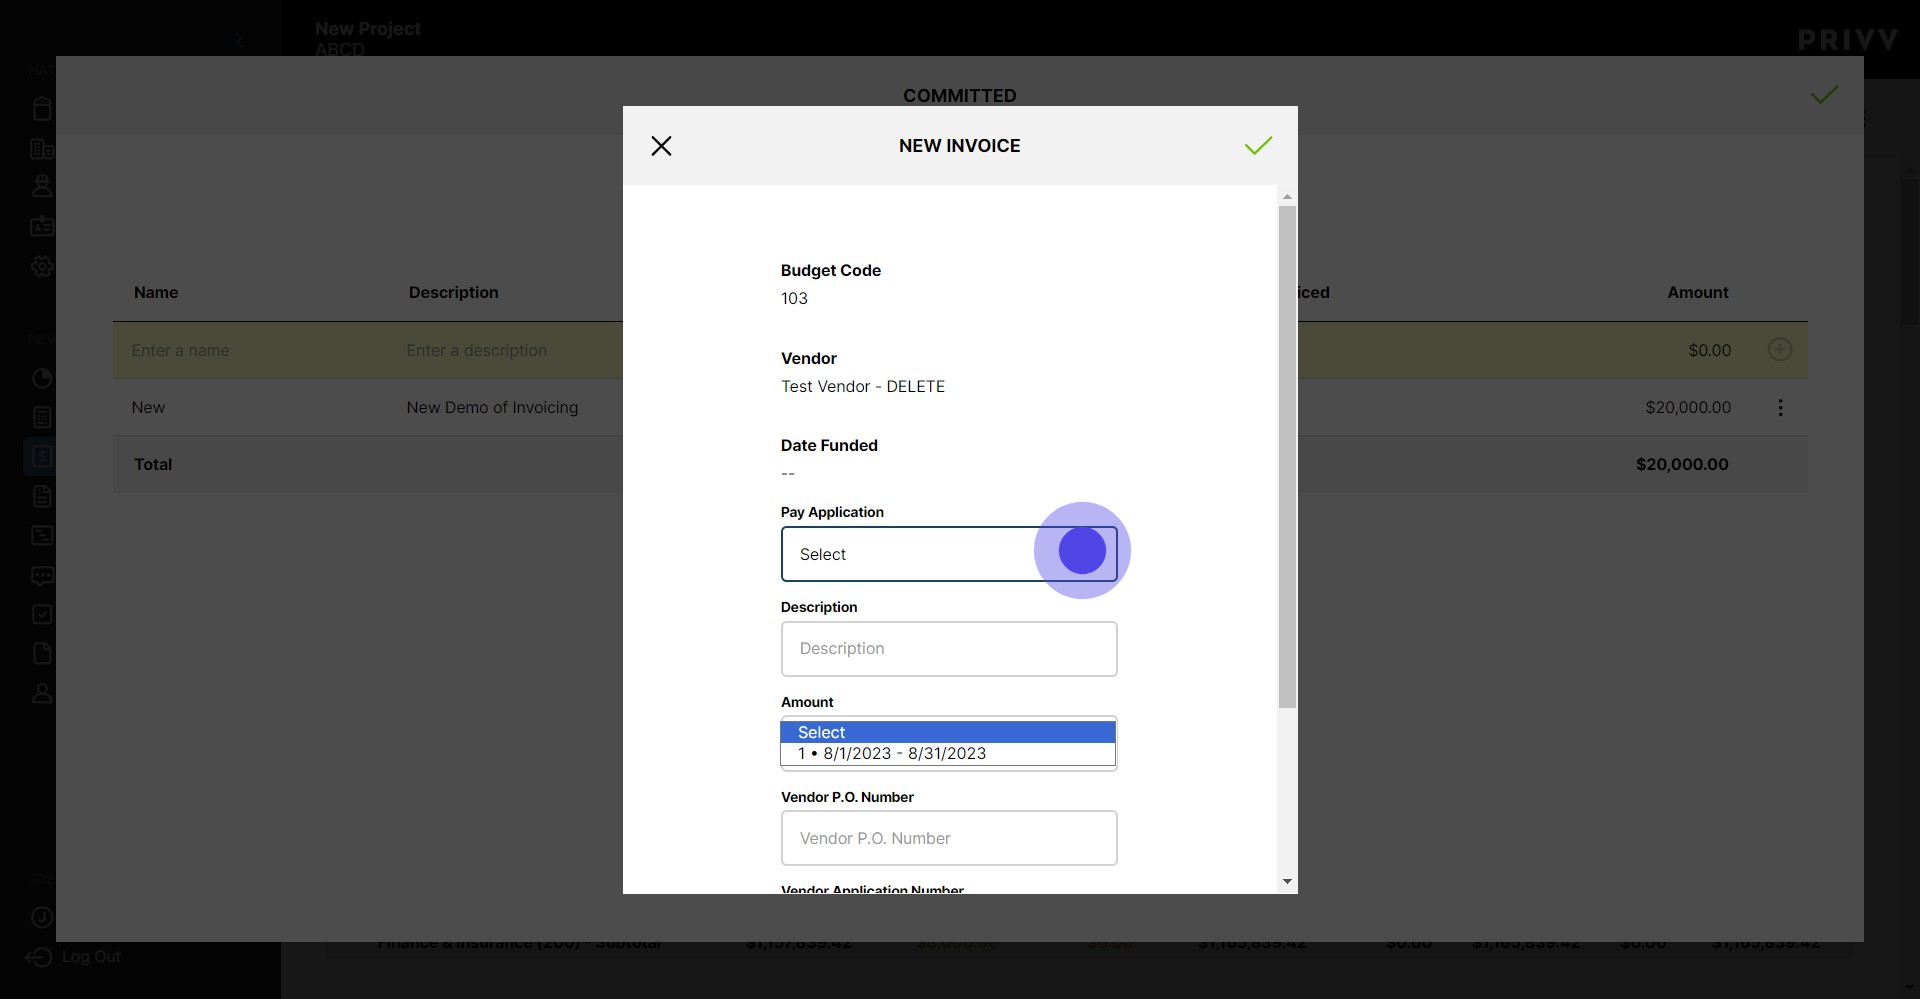
20. Click here
21. Select the Pay Application from the dropdown.
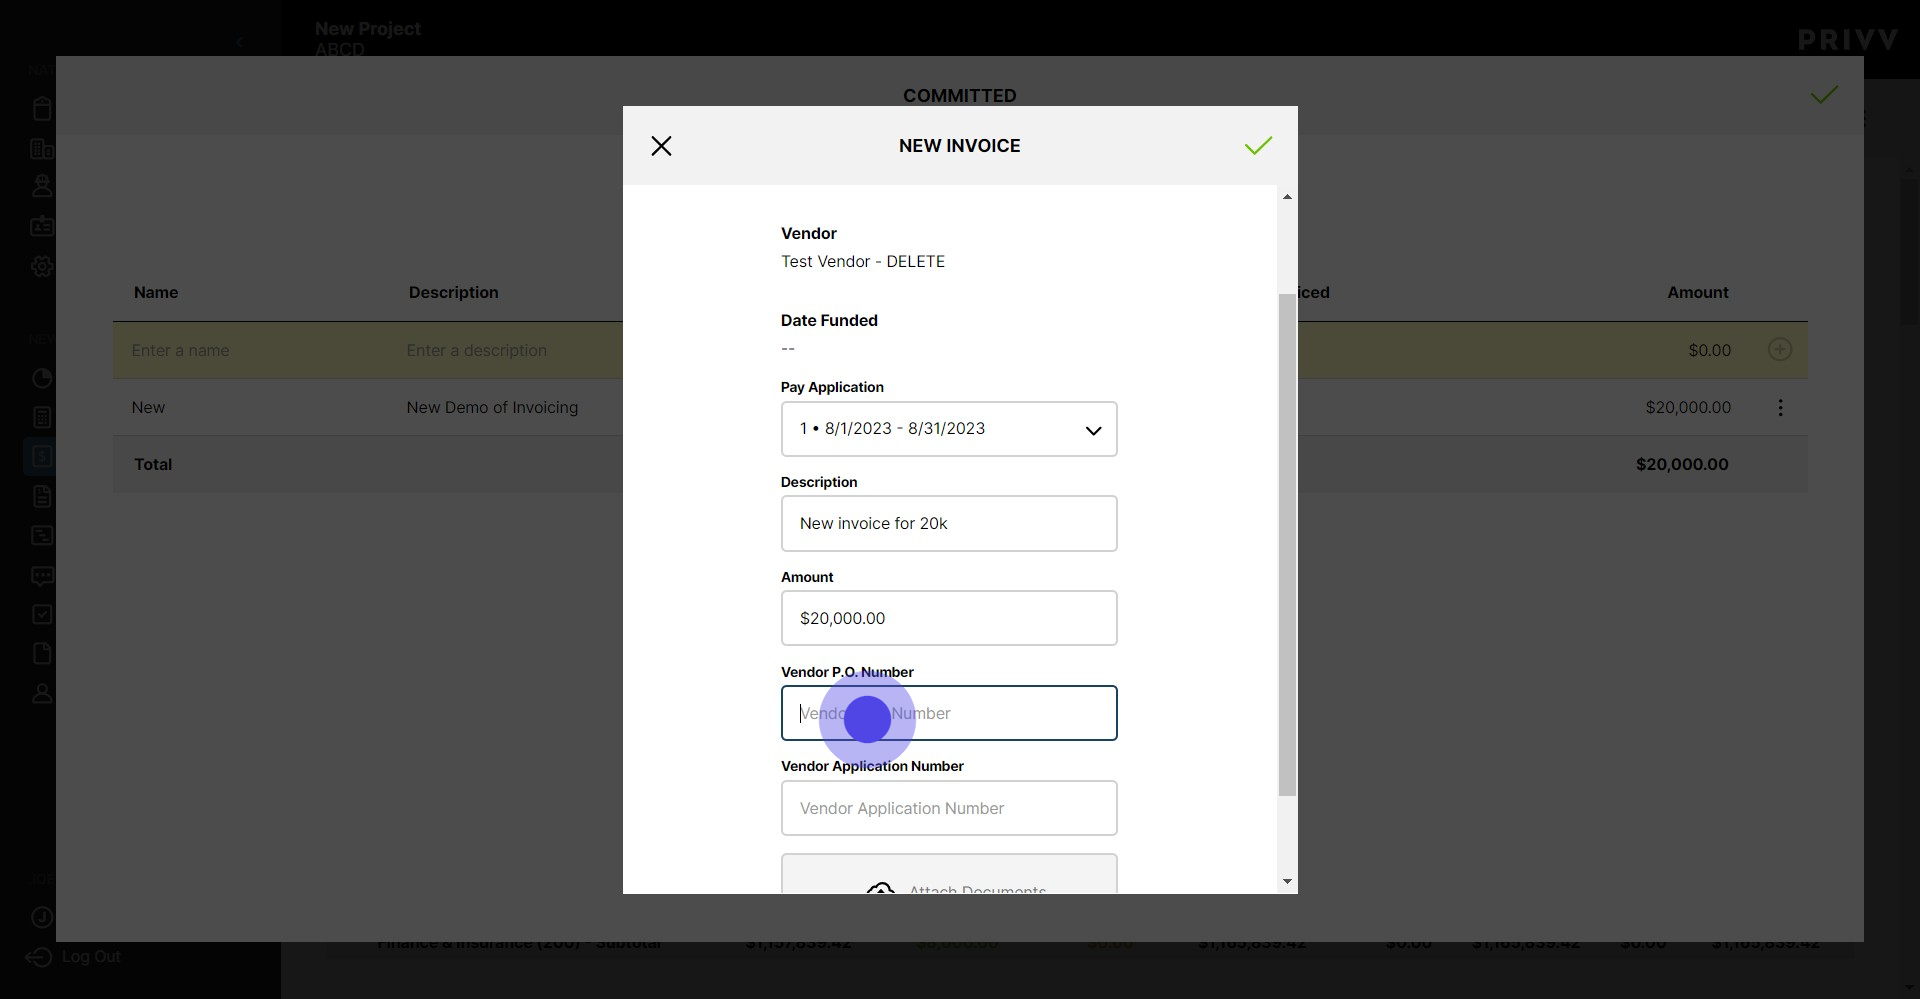
22. Enter the description of your invoice here

23. Enter the amount for the invoice here

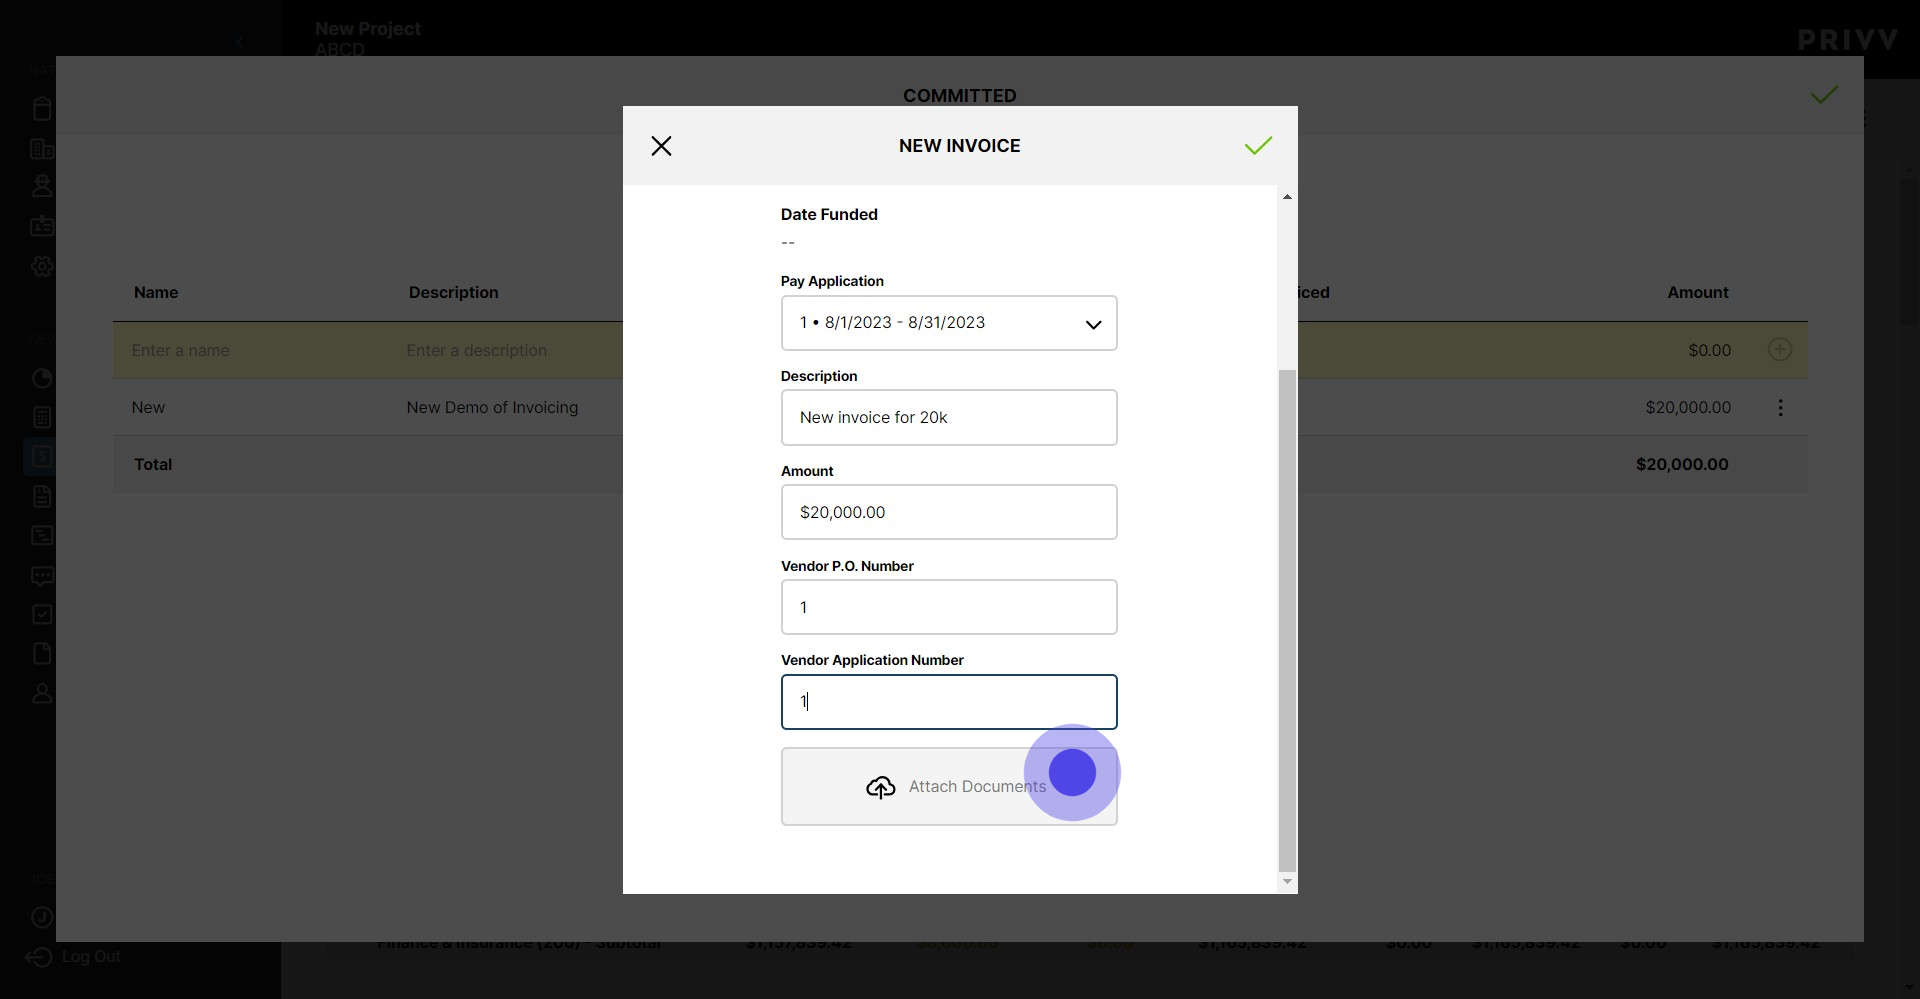
24. If the vendor has a PO number, Enter it here
25. Same goes for the Vendor Application Number

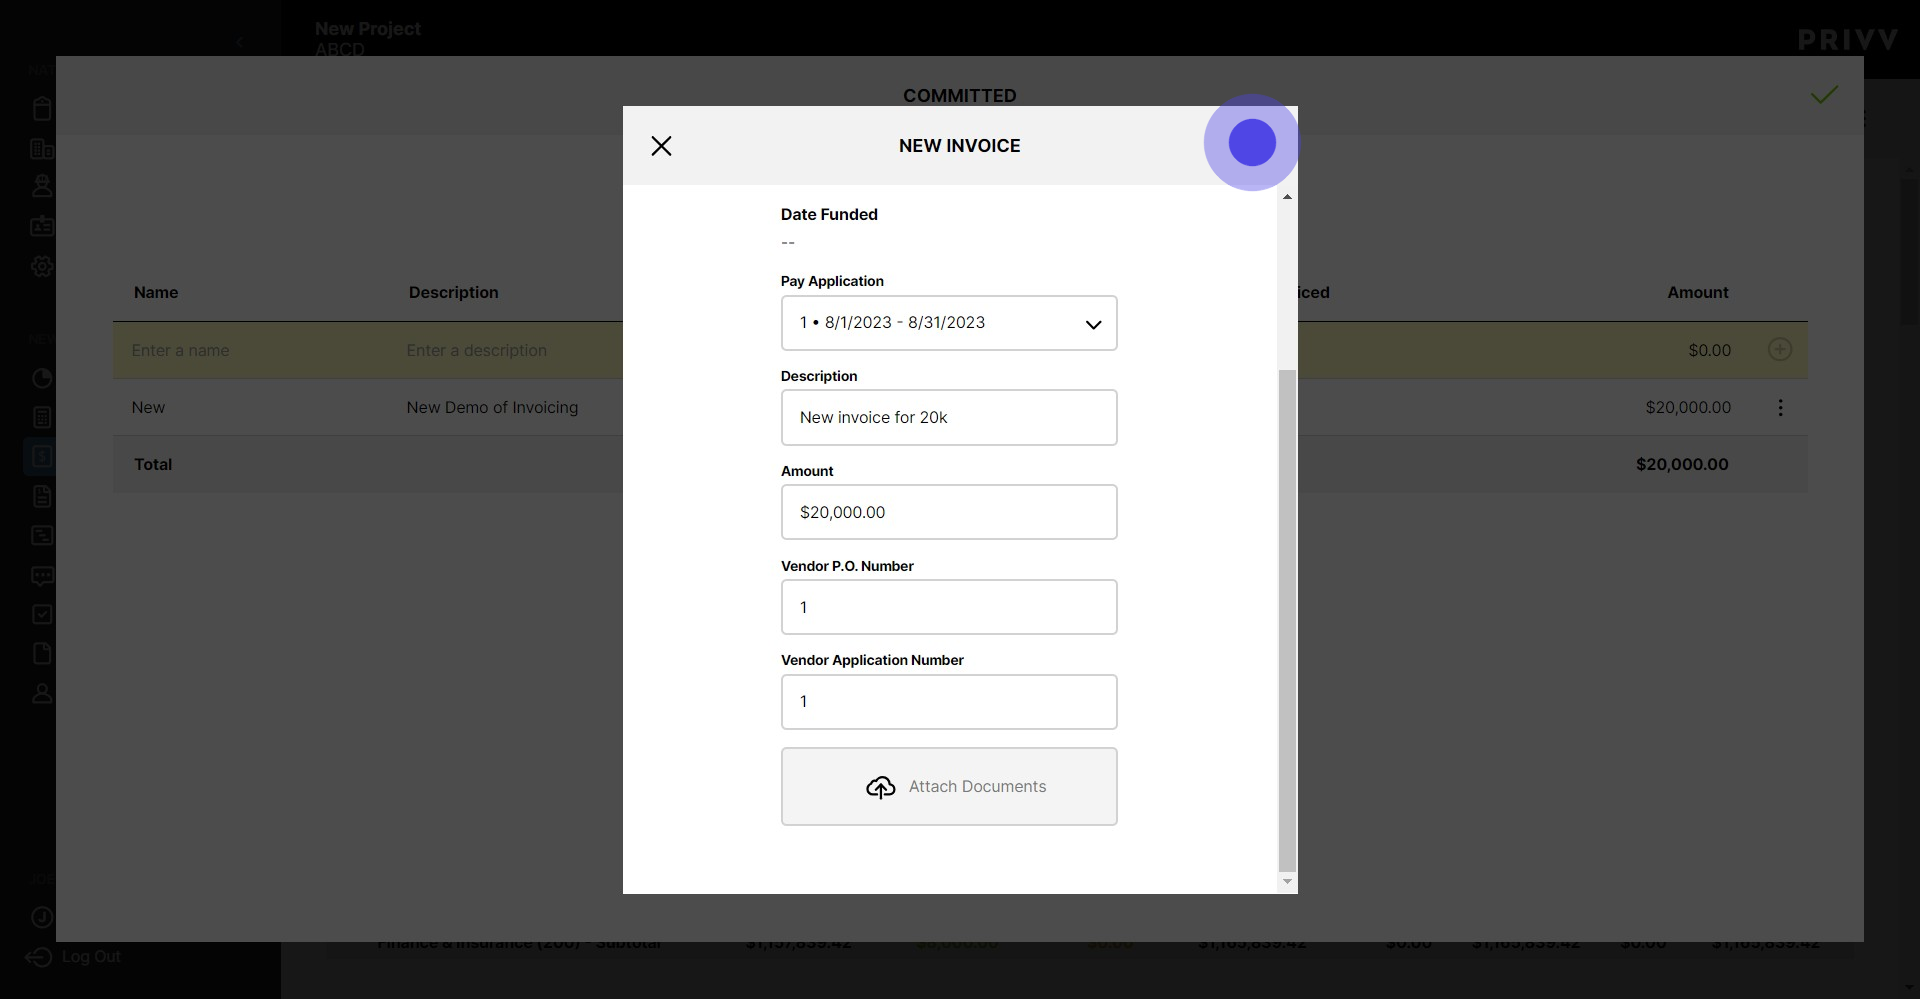
26. This one is very important! Attach the invoice using the Attach Document Button. **You will not be able to generate your pay application until the invoice has been attached**
27. When you are finished, hit the green check mark to save
28. Click here

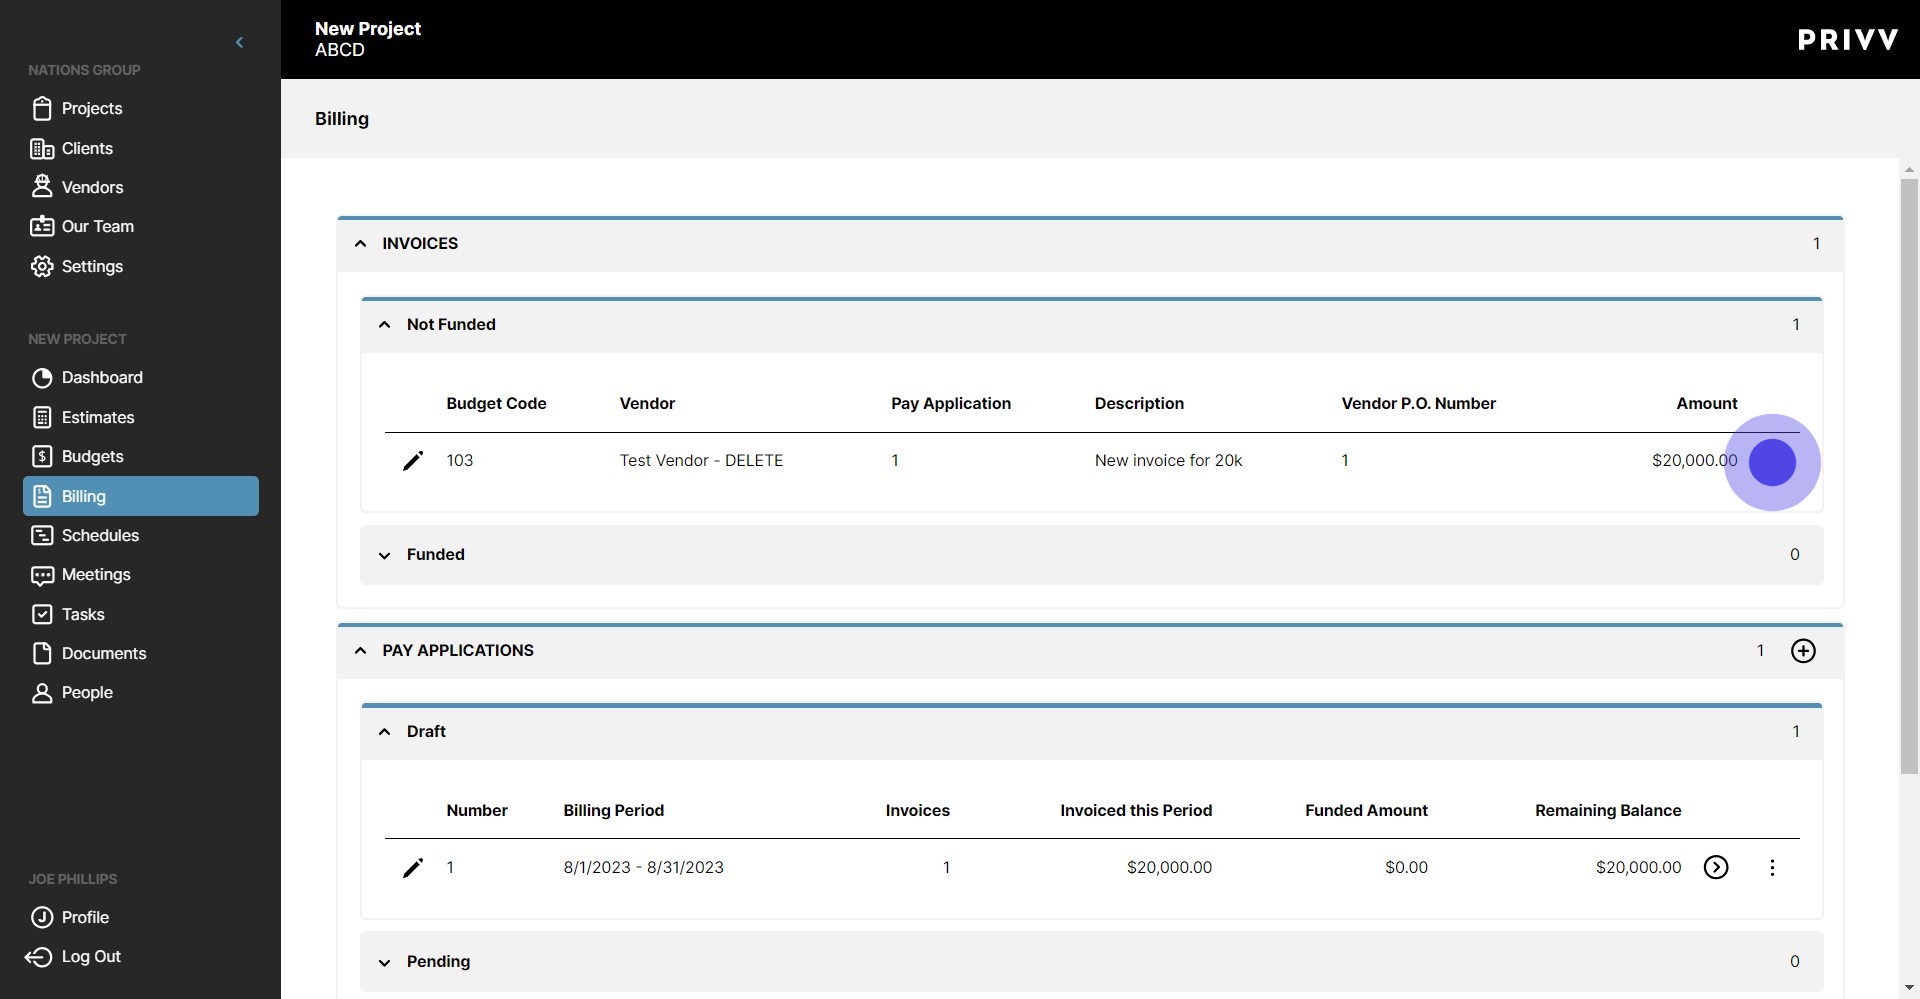
29. Now you can see the $20,000 committed and the remaining uncommitted amount for that line item

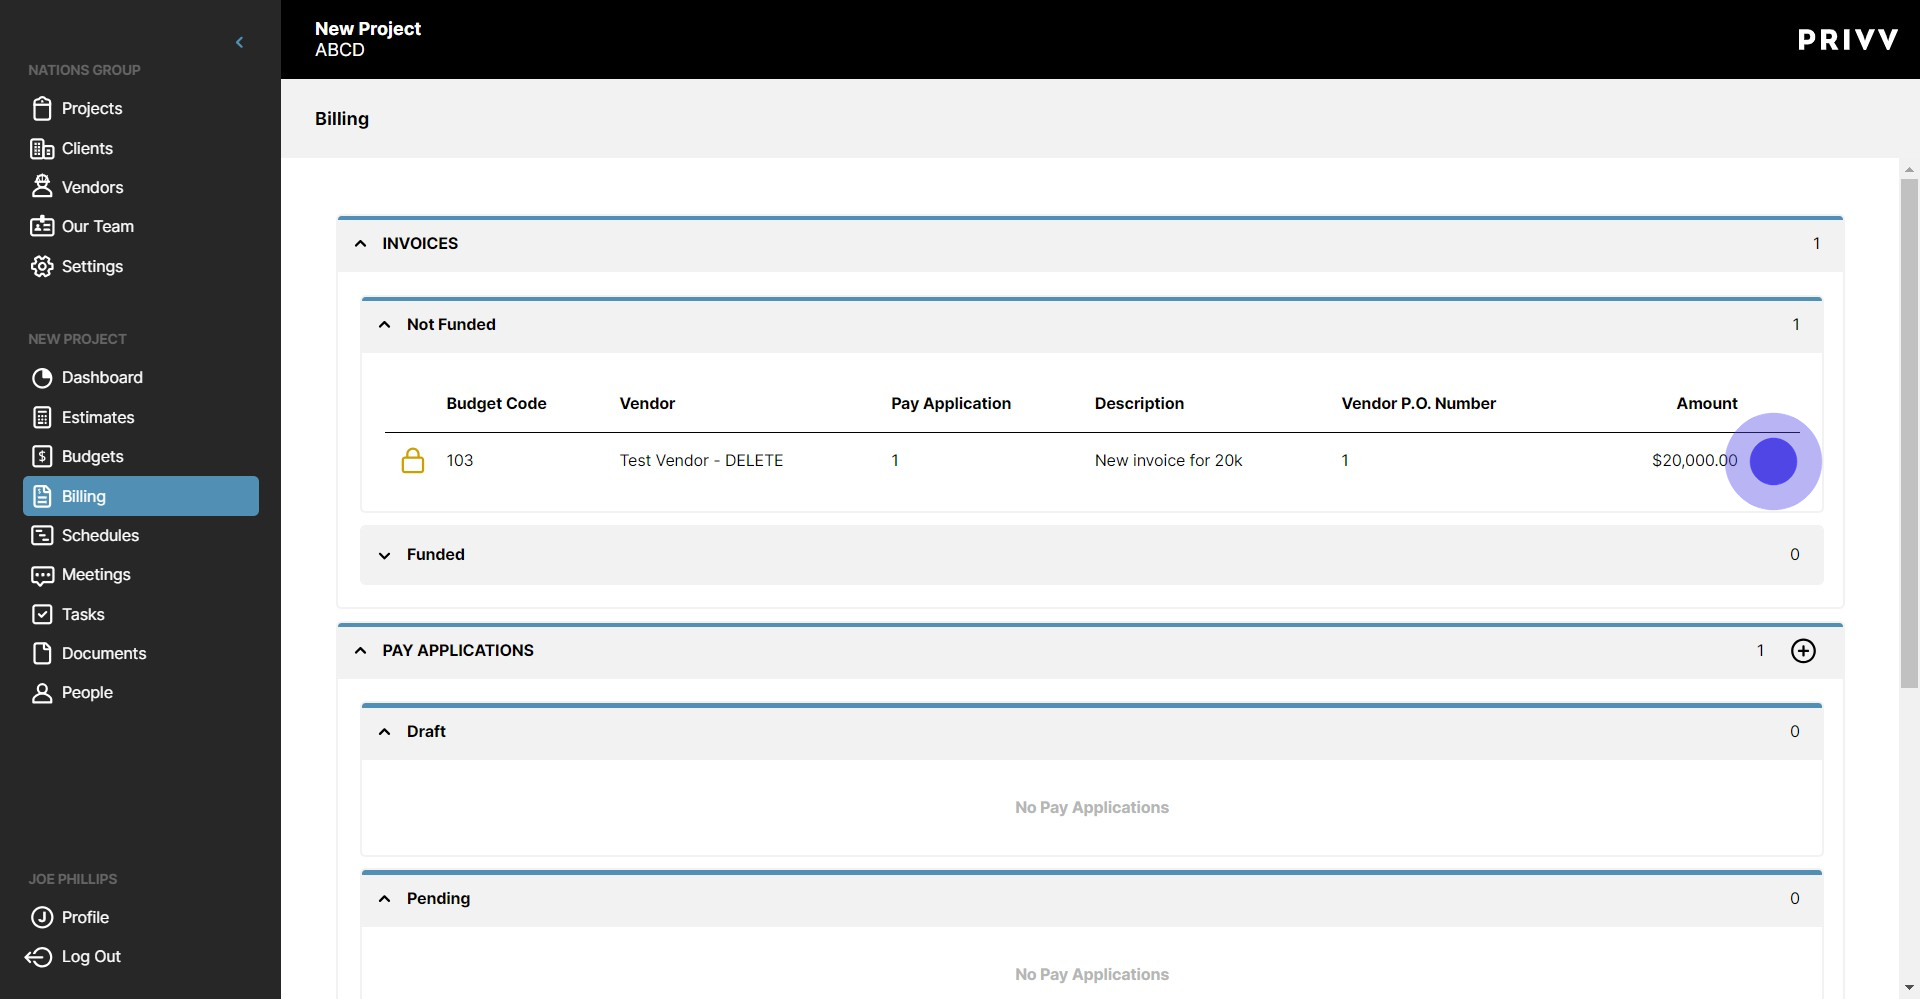
30. Click on "Billing"

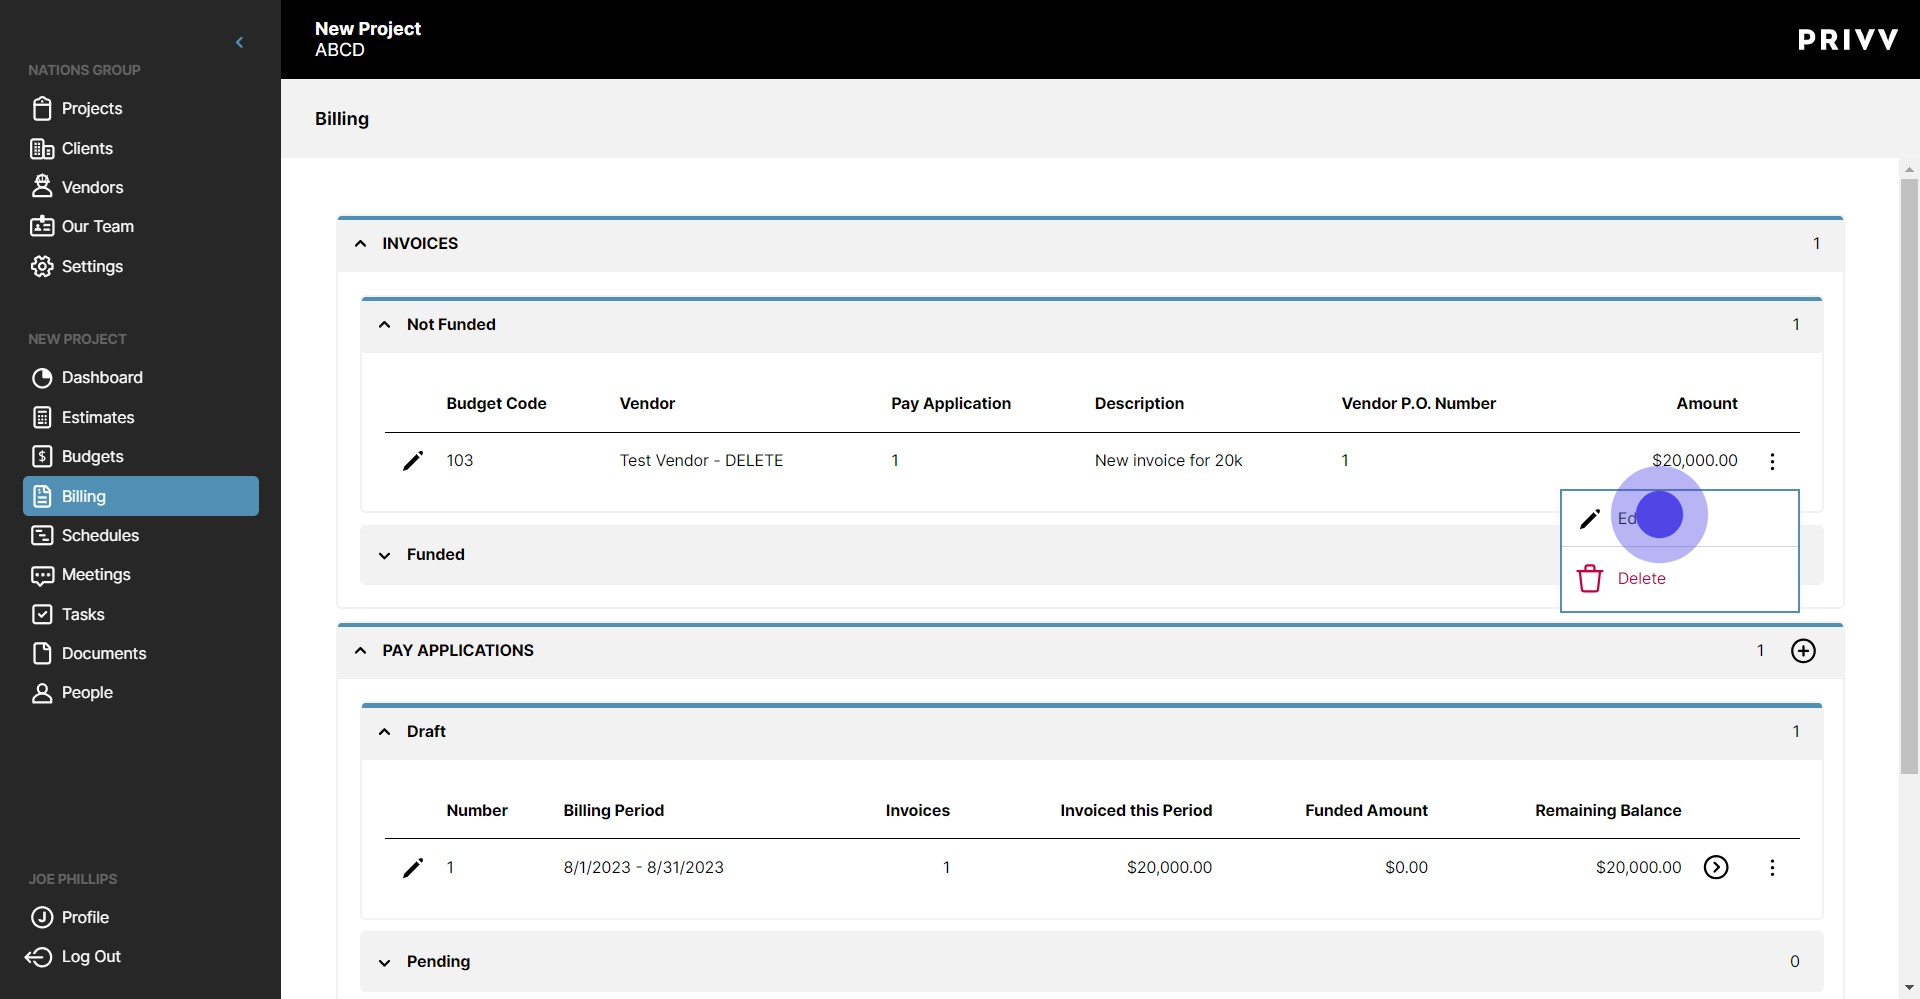
31. Your invoice will now appear in the 'Not Funded' section

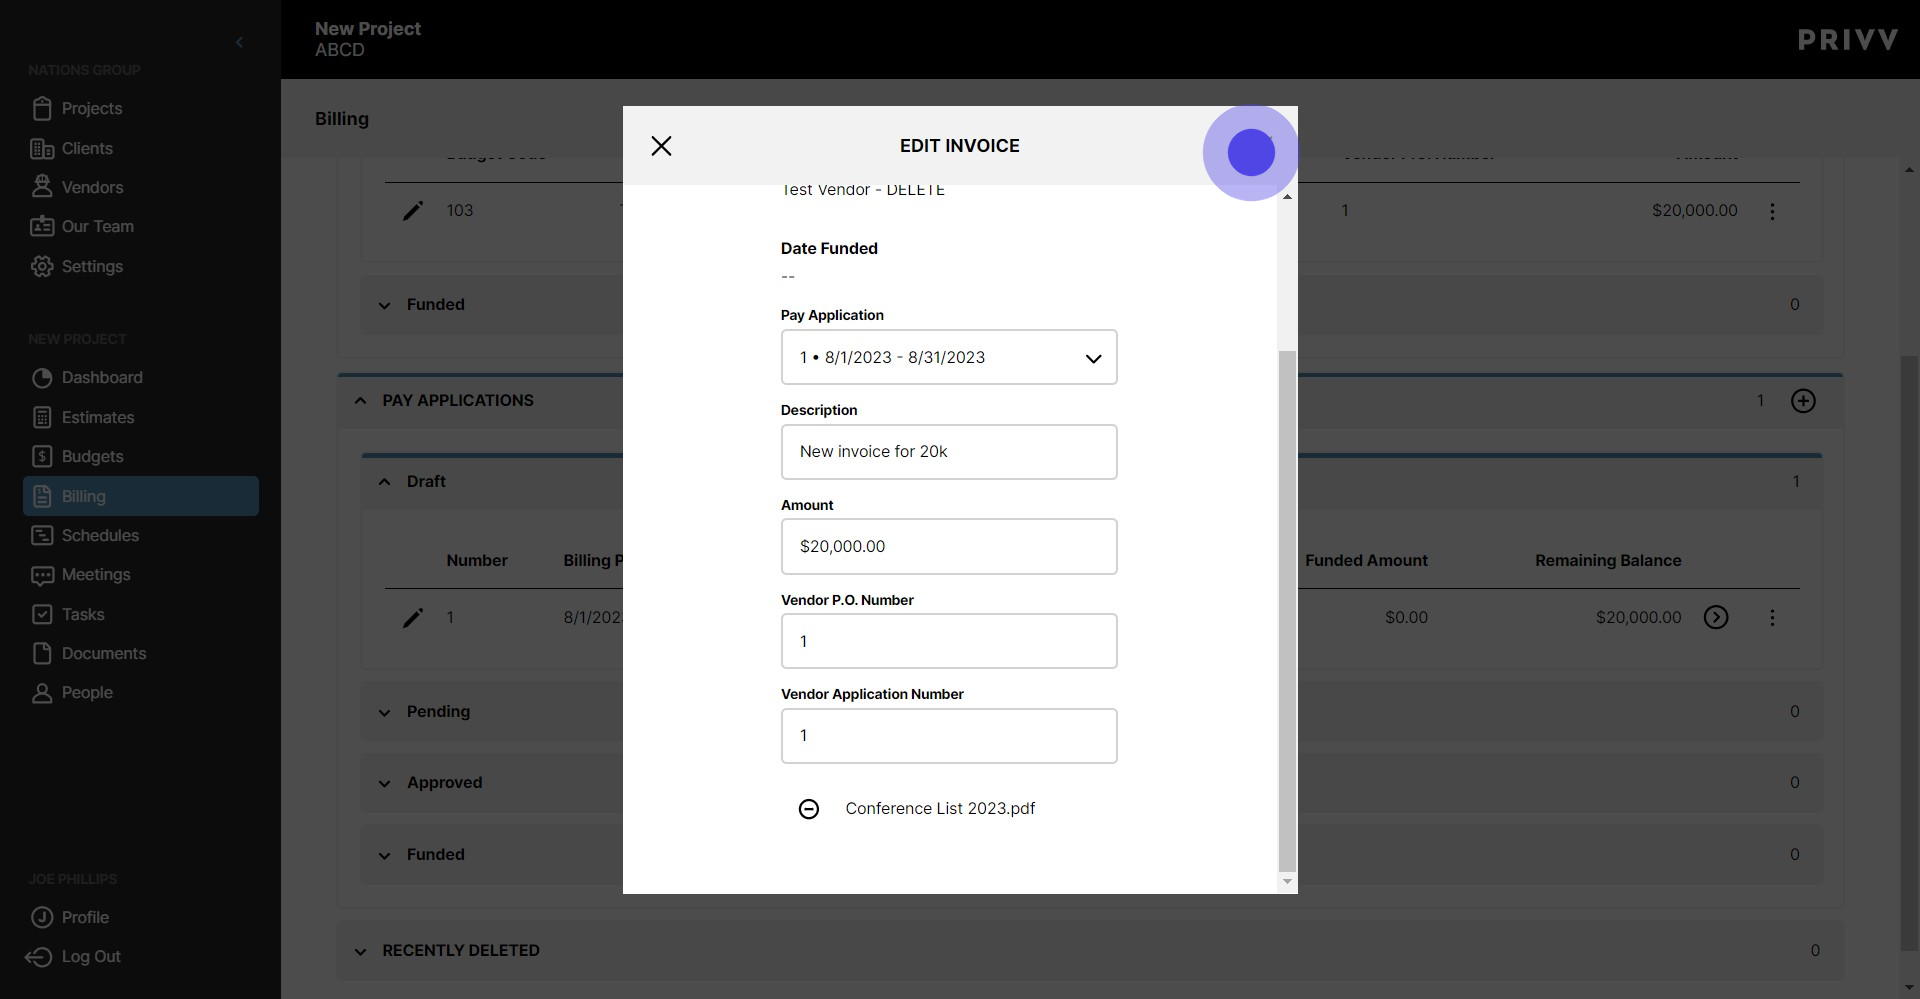
32. Click on the Ellipsis to see the options
33. You can edit or delete the invoice here. Click on Edit Info
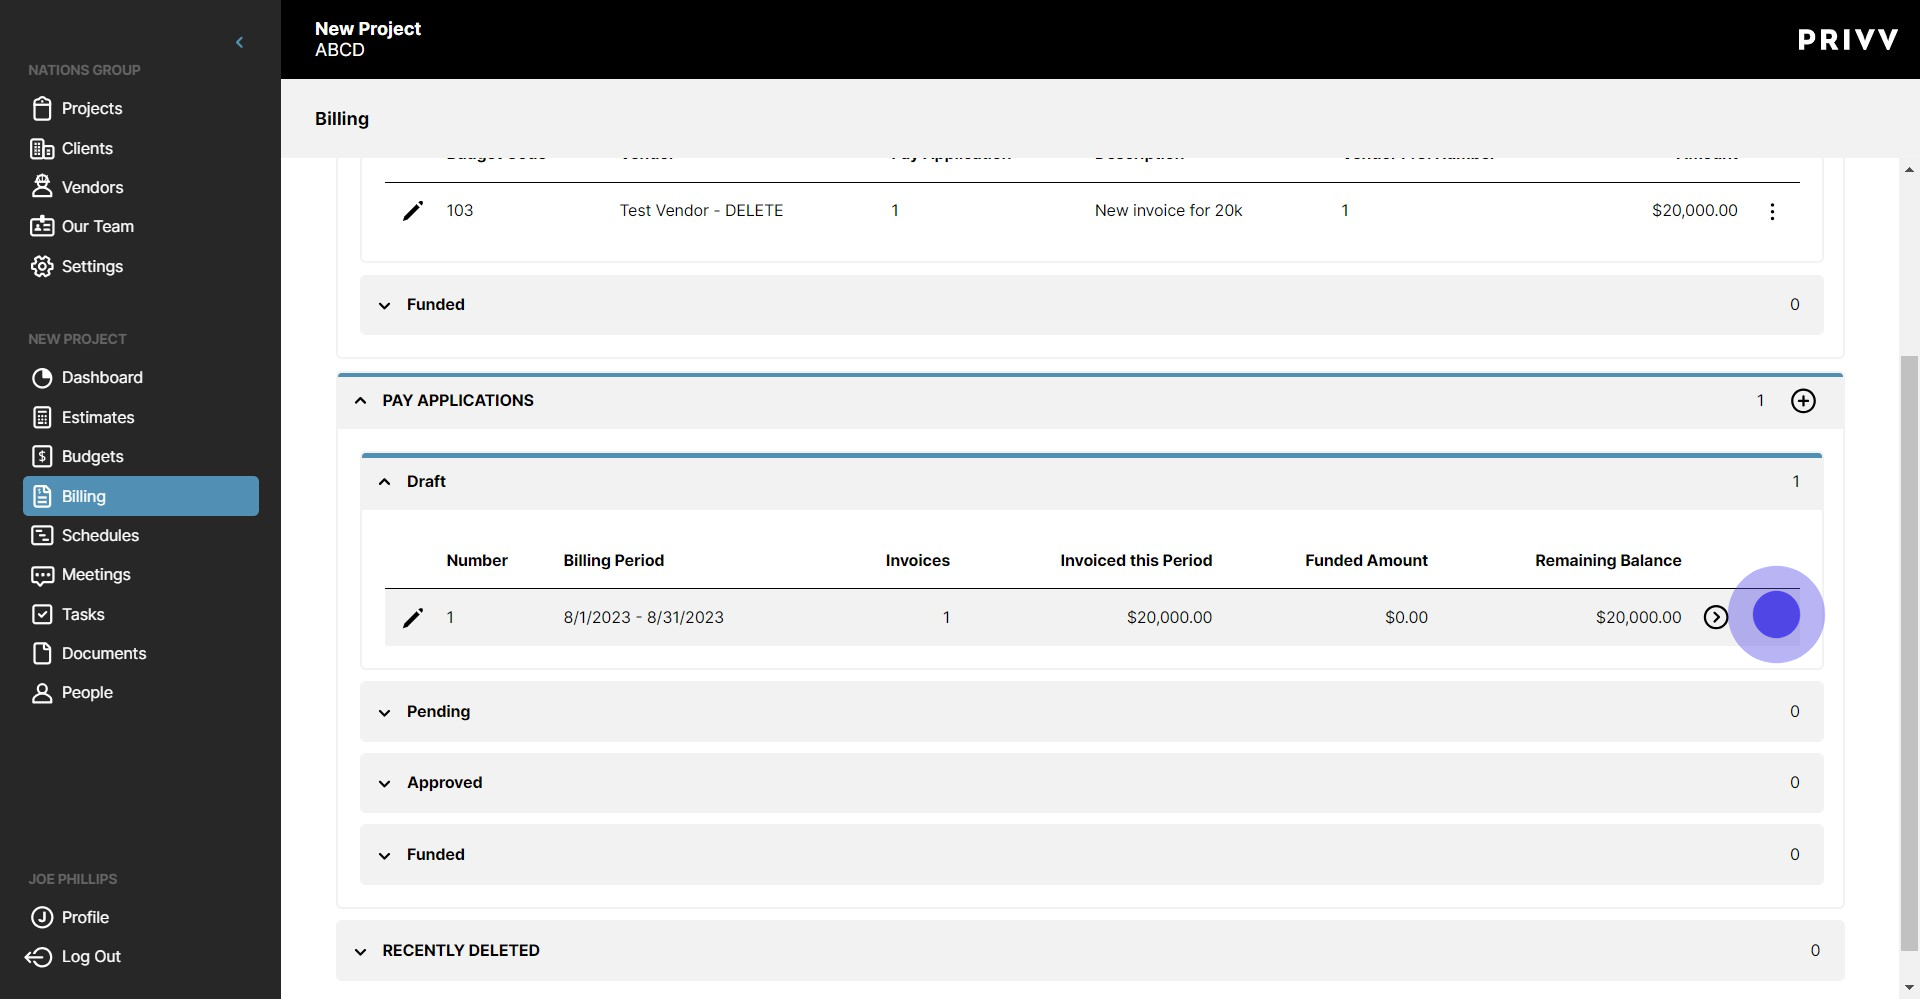
34. You can make changes to your invoice here or select the green check mark to confirm info

35. Your pay application will have options too

36. Select Generate PDF to create a PDF of your pay application. The PDF will also be sent to your email address when it is ready

37. This is the error message you would get if you tried to generate the PDF without attaching the invoice document to the committed line item

38. Dont worry, if you forgot, you can always edit the invoice and attach the document here!

39. Click here
40. Now lets try it again
41. Click on "Generate PDF"

42. It worked!

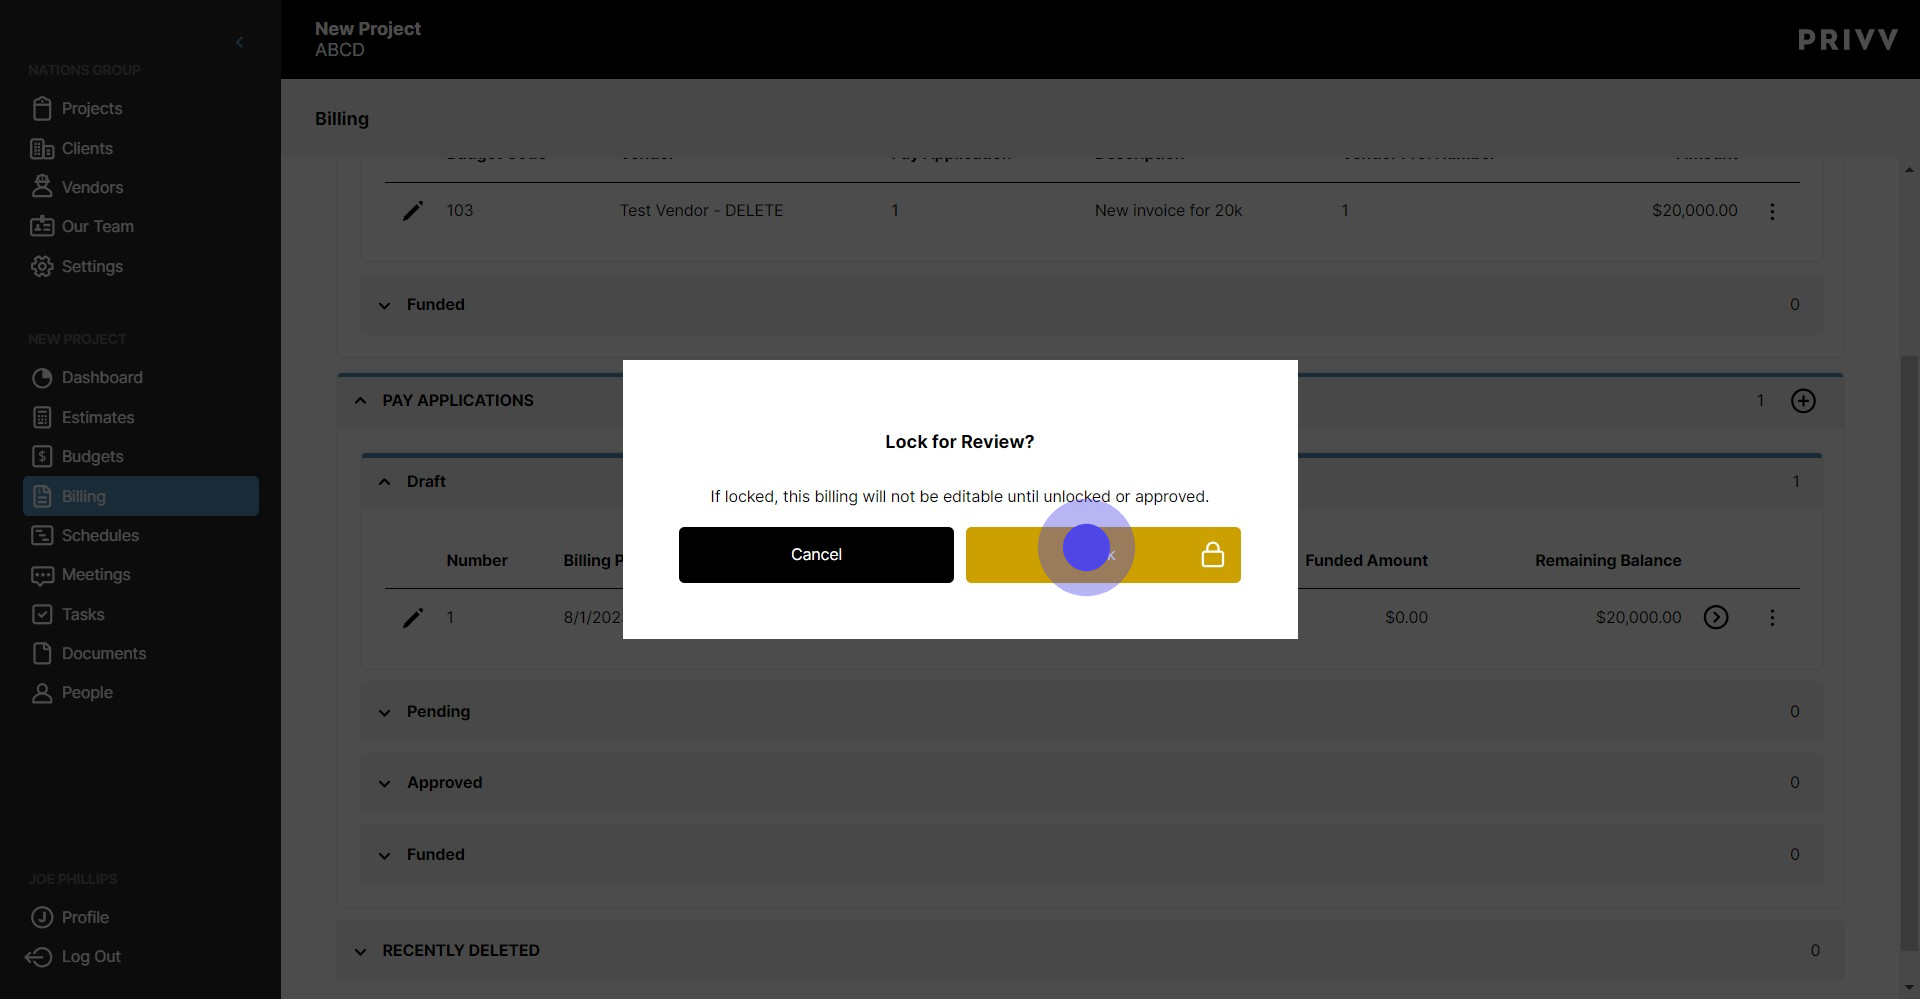
43. Click on the ellipsis again

44. Lock the Pay application for Review when you are ready to submit billing

45. Click on "Lock"
46. Click on "Pending"

47. When the Pay app has been approved, click here

48. Click on "Mark as Approved"

49. Enter who approved it

50. Enter how you received it
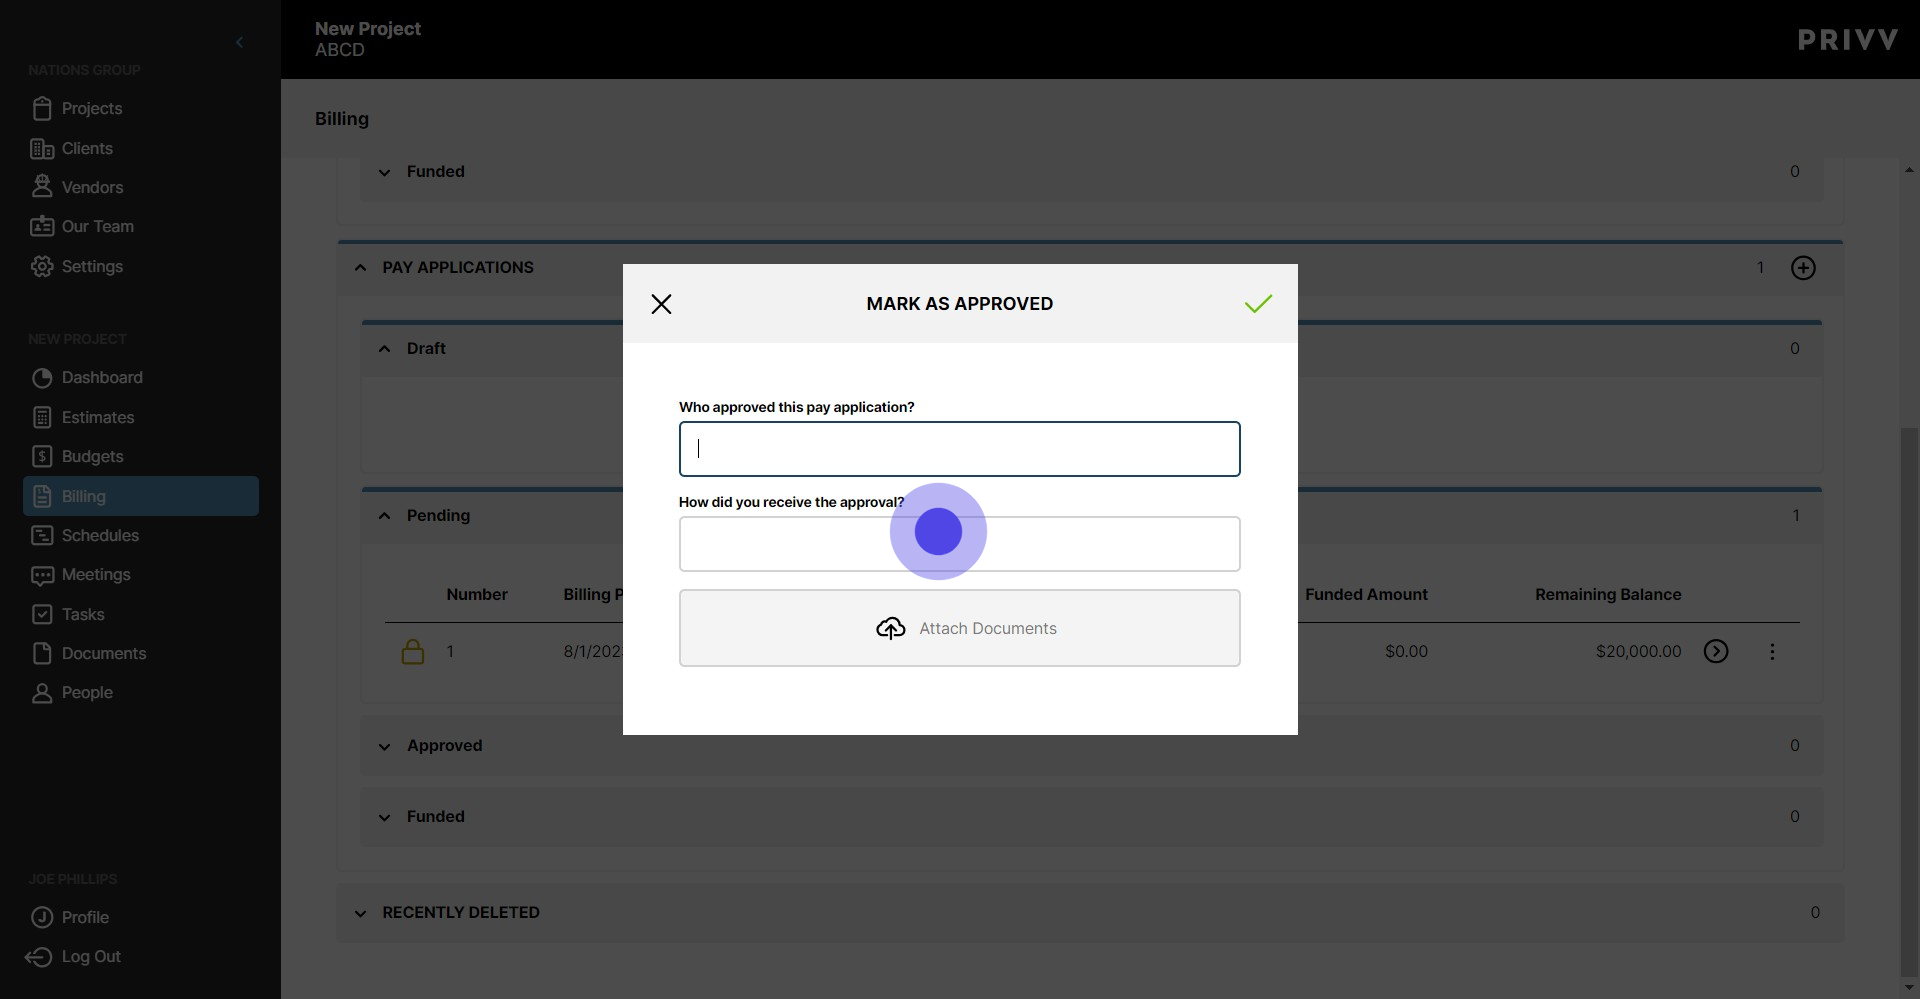
51. Attach any necessary documents here

52. Click here to save

53. Click on "Approved"

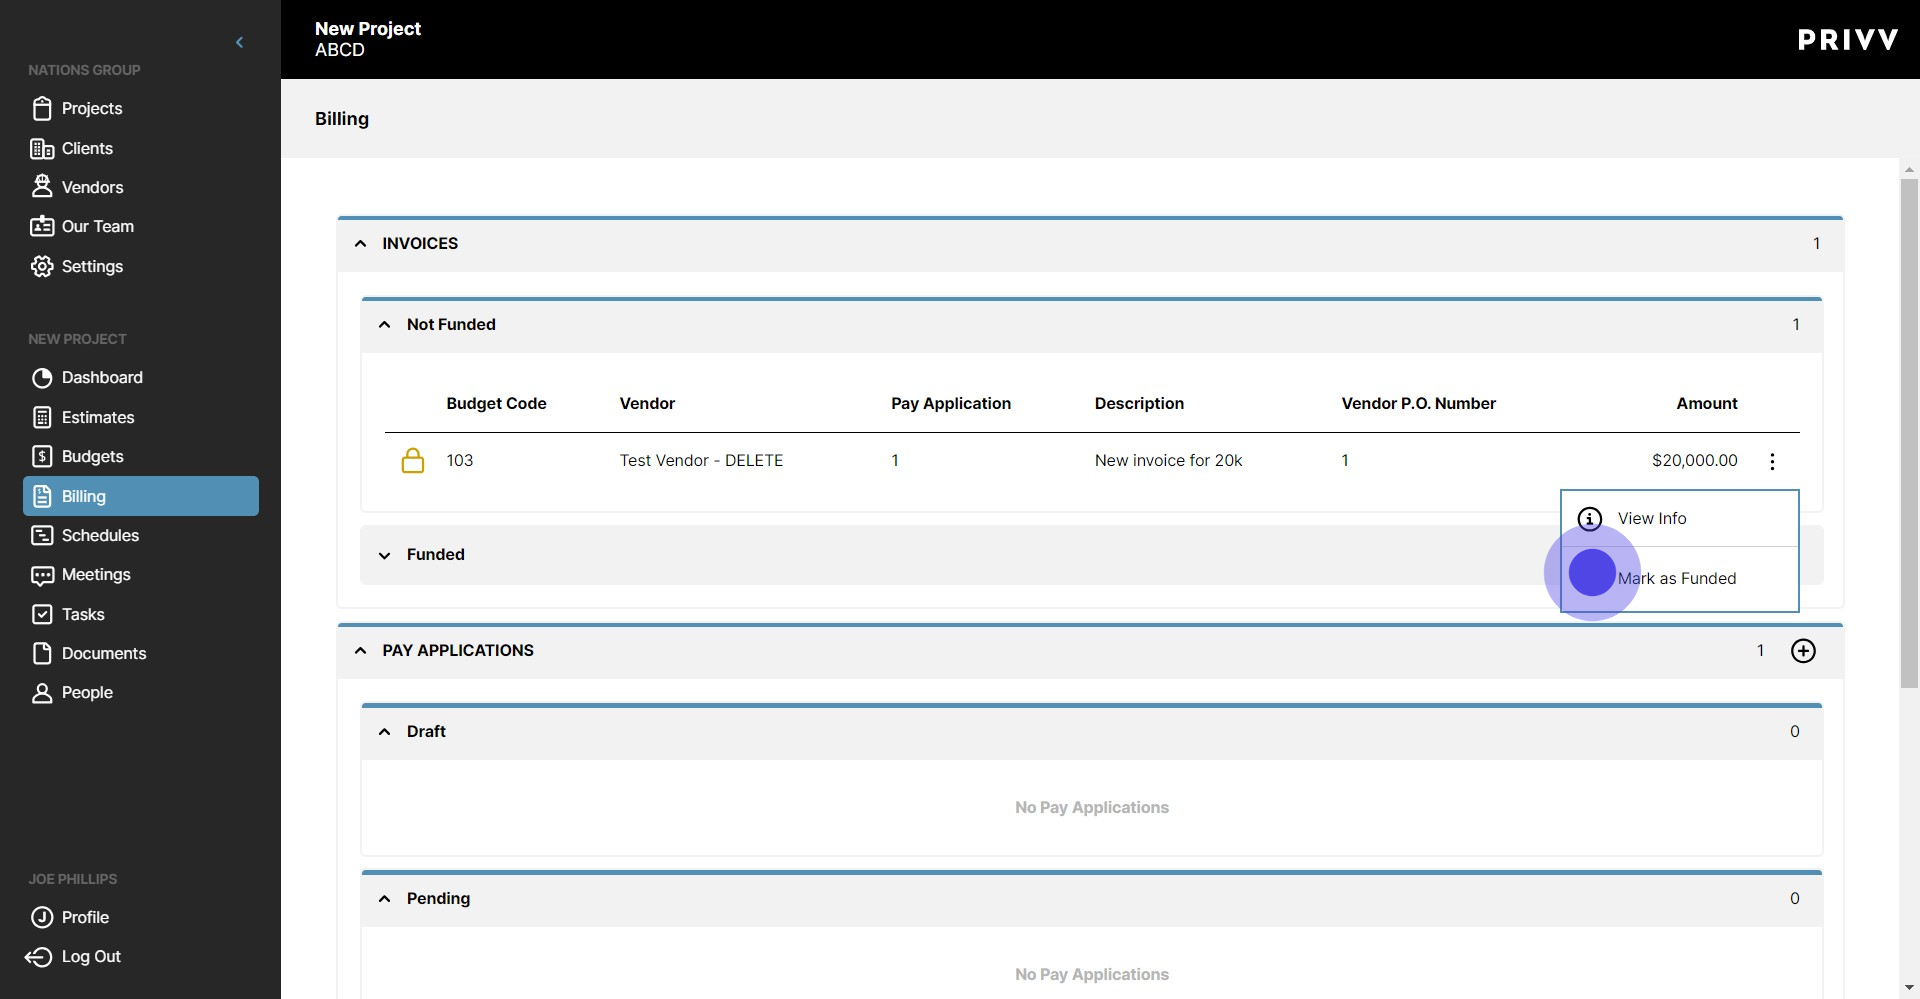
54. Now your Pay Application is in the Approved dropdown

55. Lets move this invoice into the Funded category
56. Click 'Mark as Funded' here
57. After entering the Funding date, click here to save

Was this article helpful?
That’s Great!
Thank you for your feedback
Sorry! We couldn't be helpful
Thank you for your feedback
Feedback sent
We appreciate your effort and will try to fix the article