Creating a New Schedule
Author: Joe Phillips
Steps: 31
Source: Supademo
1. Click on "Schedules"

2. Click here to add a new schedule

3. Enter the name, associated budget or estimate, the phase you are starting your project in, and the estimated dates.

4. Click here to move on

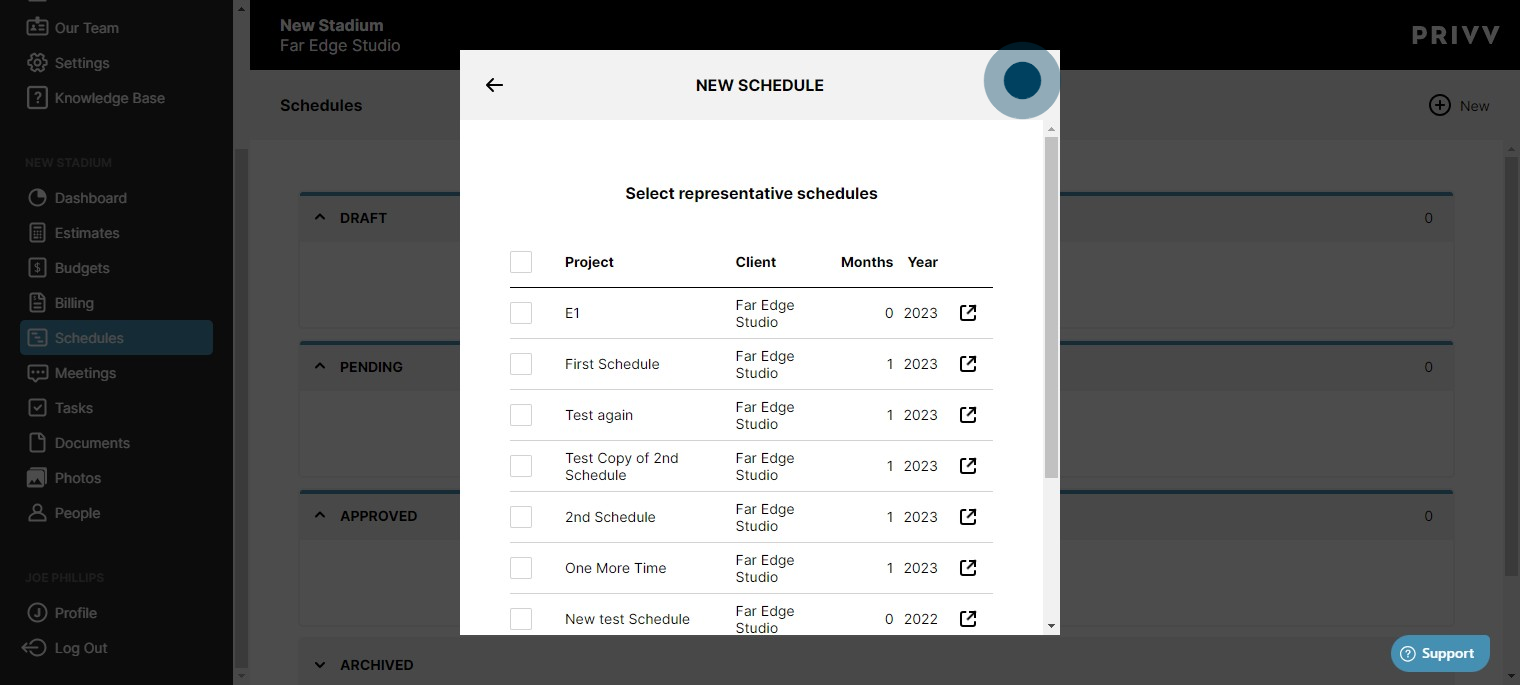
5. Same as the estimate, you can use representative projects to speed up the process and accuracy

6. We are going to select none for this example to show that it will still automate your schedule. Click the check mark to see your schedule.
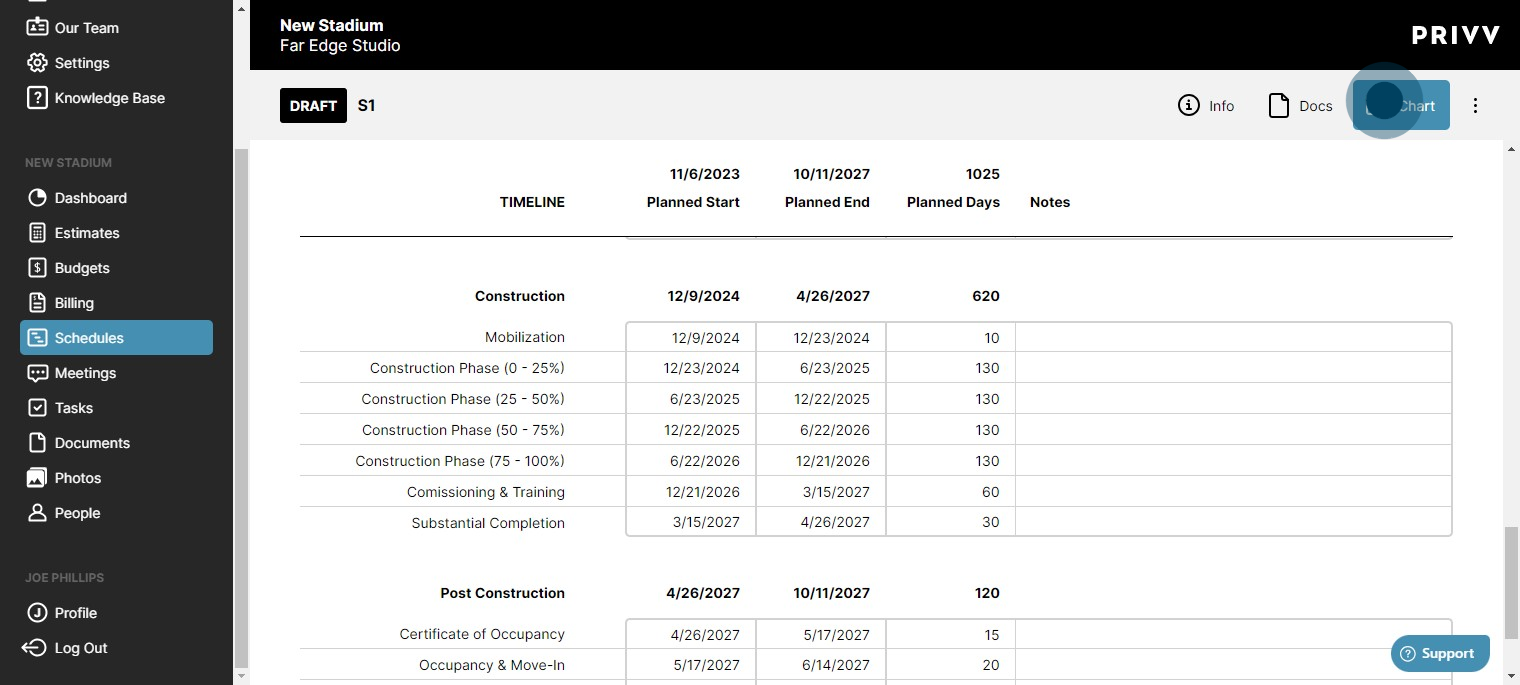
7. Your schedule is automatically built out based on estimated risk signatures and your project type and subtypes.

8. The days or dates can be adjusted by the user. Risk flags will appear if you breach the threshold per line item.

9. Click any line item to select new start or end dates. You can also change the built in dependencies.

10. Click on "Yes" to update with dependencies

11. You can see the changes made across your schedule in yellow.

12. Click here for the Gantt Chart
13. Print the Gantt Chart

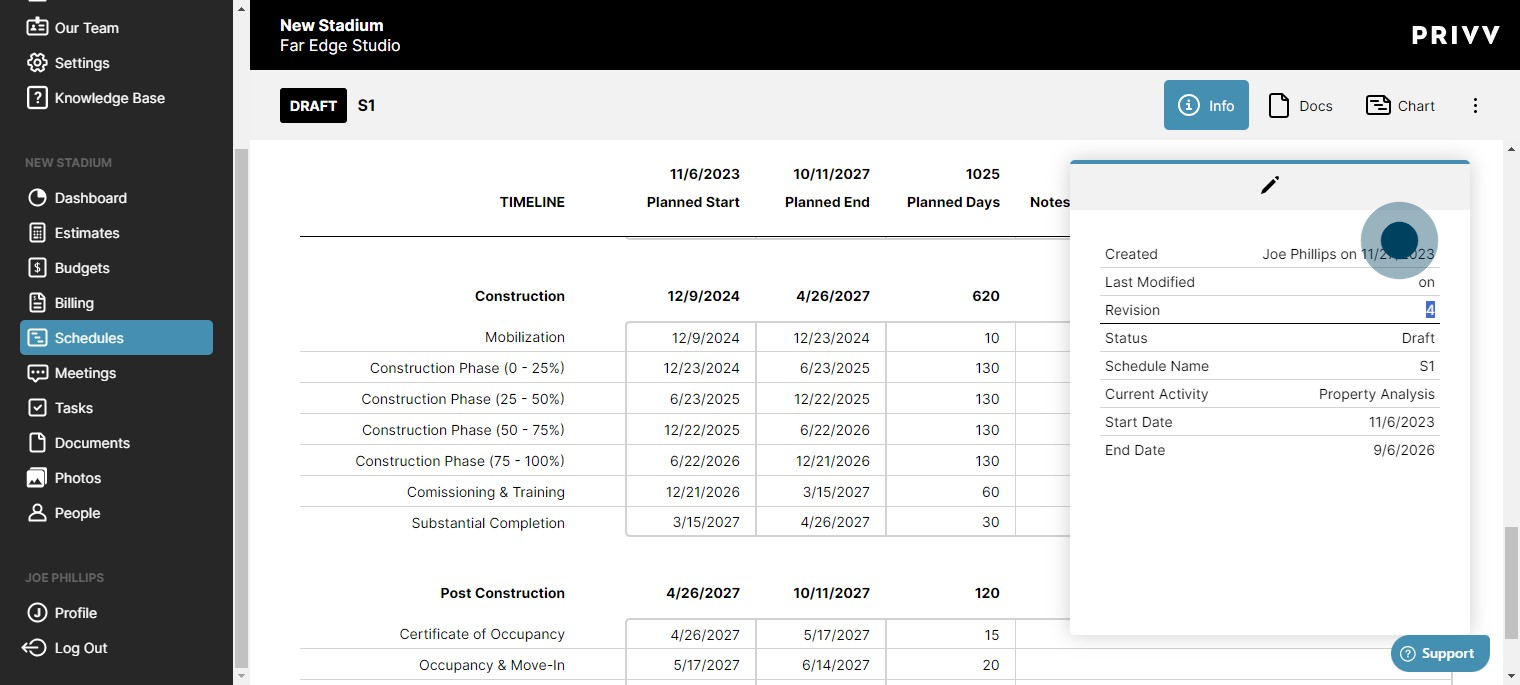
14. Info panel shows specific information

15. Built-in version control, revisions counts & timestamped user info is always tracked.
16. Click here to move it through the approval process

17. Click on "Lock for Review"

18. Click on "Schedules" to see your pending schedule

19. Click here for more options

20. Click on "Mark as Approved"

21. Enter the approver name, how it was received, add any attachments.

22. Click here to approve

23. Click on tasks to see the automated task module for both standard operating procedures and schedule based tasks.

24. Click on your schedule-based tasks

25. Each section and subsection has its own set of tasks meticulously planned based on industry expert knowledge.

26. Expanding the dropdown allows you to assign the task to your project teammates and edit the status. This helps the user keep track of what needs to be done and when it is due.

27. Edit the assigned user from here

28. Assign a due date for the assigned user

29. Mark the status to "Doing"

30. Click on dropdown banner to collapse it

31. Now you have your schedule set and can plan out the entire project plan from your predefined tasks!

Was this article helpful?
That’s Great!
Thank you for your feedback
Sorry! We couldn't be helpful
Thank you for your feedback
Feedback sent
We appreciate your effort and will try to fix the article